Hey there, nail enthusiast! Is your feed already exploding with pastel everything and bunny ear headbands? Yeah, mine too. Spring has this funny way of making us want to refresh everything, starting with our fingertips. But let’s be real—scrolling through a million nail pics can be overwhelming. Where do you even start? Do you go full Easter egg decor, or just dip a toe (or, well, a finger) into the seasonal vibes?
Don’t worry, I’ve been there. I’ve also had my fair share of nail art fails (RIP to the “simple” bunny face that looked more like a blob with issues). That’s why I’ve rounded up 24 absolutely doable, undeniably cute Easter nail ideas for 2026. We’re talking everything from minimalist chic to full-on spring festival magic. Grab your favorite polish (or your stylist’s number), and let’s get into it!
The Core Principles of Easter 2026 Nails
Before we dive into the numbered list, let’s set the scene. What makes a nail design feel like Easter? IMO, it’s not just bunnies. It’s a vibe. Think:
- A Soft, Happy Palette: Pastels are your best friends, but don’t be afraid of a crisp white or a creamy neutral as your canvas.
- Playful Texture: Matte vs. glossy finishes, subtle glitter, or even 3D dots can make your design pop.
- Whimsy, Not Overload: One perfectly placed chick is better than ten clumsily painted ones. Trust me on this.
Ready? Let’s count them down.
1. The Speckled Egg Marvel
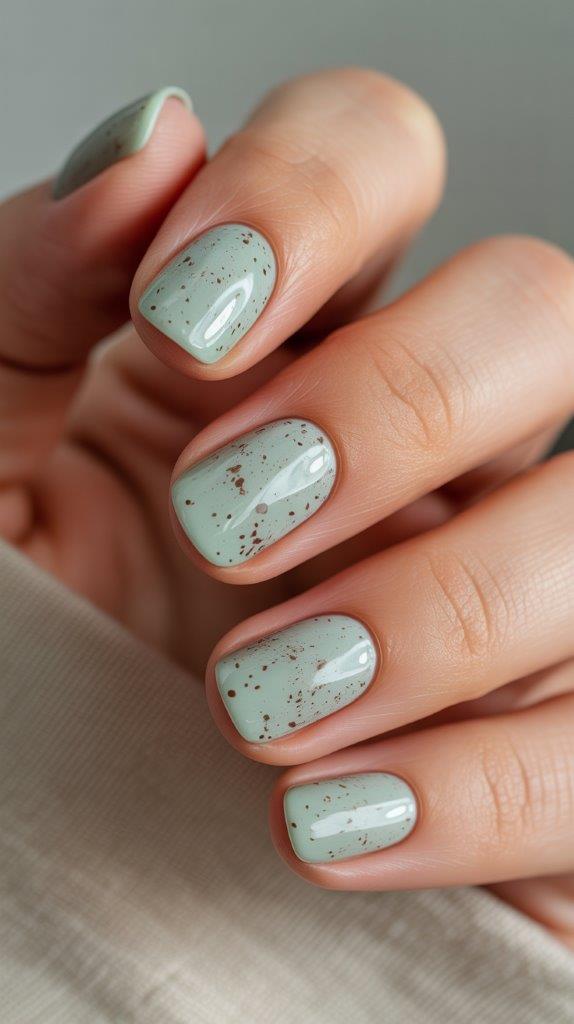
This is my personal favorite and the ultimate “looks complicated but isn’t” design. It channels that classic dyed-Easter-egg energy perfectly.
How to nail it: Paint your nails a solid pastel color. Let it dry completely. Then, take an old toothbrush, dip the bristles in a contrasting polish (brown on cream, dark pink on light pink, etc.), and run your thumb over them to create a fine speckle spray. Top with a glossy top coat for that authentic eggshell shine.
2. Pastel French Twist

The French manicure had a glow-up, and for Easter 2026, it’s all about colorful tips. Ditch the plain white.
- Try lavender tips on a sheer nude base.
- Or go for alternating tips in mint, peach, and yellow.
It’s elegant, fresh, and screams spring in the most sophisticated way. Perfect if your office isn’t a full-on bunny farm.
3. The “Dipped in Color” Effect

This trend is still going strong because it’s so versatile and cool. It looks like your nail was just dipped in liquid pastel.
You can do a classic diagonal dip, a wavy “drip” line, or just color the bottom half of your nail. Pro tip: Use a makeup sponge to create a soft, gradient edge between the two colors. It’s abstract, artsy, and totally Insta-worthy.
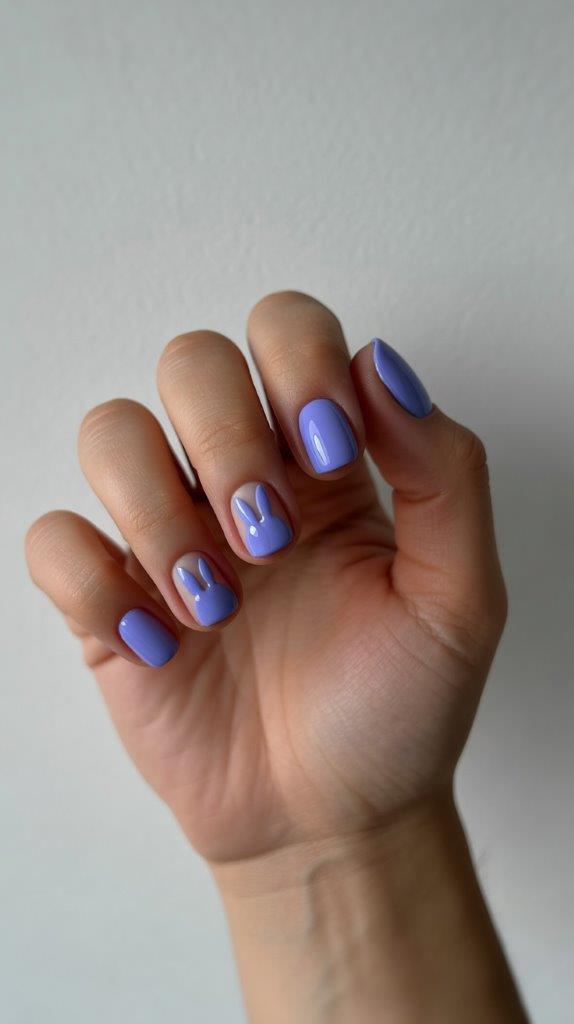
4. Minimalist Bunny Silhouettes

A tiny, simple bunny silhouette on an accent nail is devastatingly cute. We’re talking a single, solid black or navy bunny profile on a blush pink background. You can even just paint the ears peeking up from your cuticle line. It’s understated, chic, and unmistakably festive.
5. Sideways Sprinter Chicks

Why should our cute critters sit upright? Paint a little yellow chick sideways, as if it’s rolling or running across a sky-blue nail. Add a tiny white dot for an eye. This creates movement and tells a tiny story on each nail. It’s a clever and modern take on the classic motif.
6. Glitter Gradient Cuticles
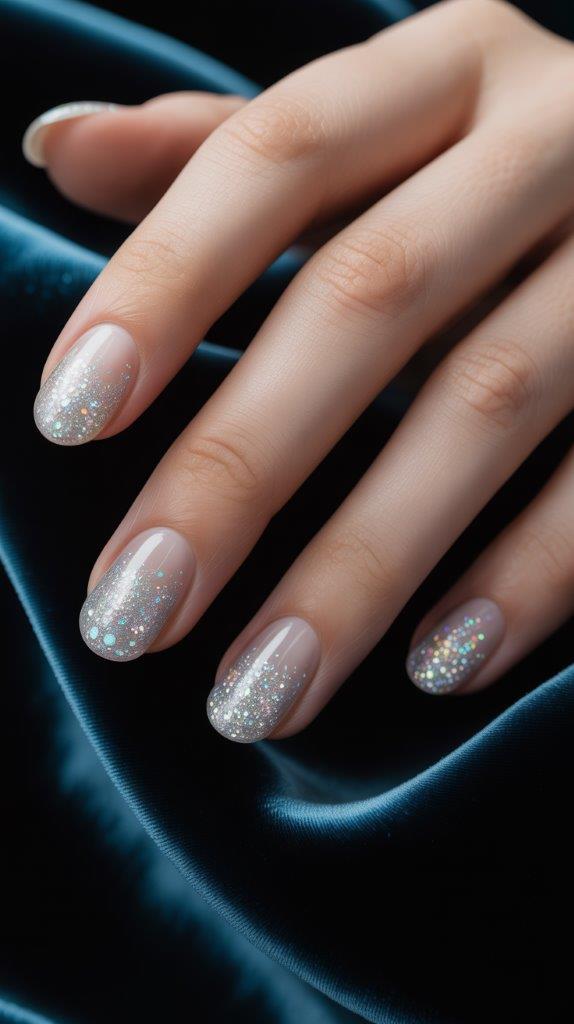
Want major sparkle without the commitment of full-bed glitter? Create a subtle glitter gradient right at your cuticle line. Use a soft, holographic silver or a pastel glitter polish and gently fade it out as you move down the nail. It looks like fairy dust settled at the base of your fingers. Magical, right?
7. Checkerboard Pastels

Turns out, the checkerboard trend is a perfect match for Easter! Use two complementary pastels, like baby blue and soft yellow, to create tiny, clean checks. You can do it on all nails or just one accent nail. It’s graphic, playful, and way easier than it looks with some nail art tape or a stencil.
8. 3D Pearl Accents

A little 3D magic goes a long way. I’m not talking giant charms. After your base color dries, use nail glue to place one or two tiny, iridescent pearls near your cuticle or on the side of your nail. On a soft lilac or mint green base, it looks like elegant dew drops. So pretty, and surprisingly durable with a good top coat seal.
9. Mismatched Pastel Partners

Who says all your nails have to match? Pick 3-4 pastel shades you love and paint each nail a different solid color. The key is keeping them in the same soft, muted family. Think: peach, mint, lavender, and butter yellow. It’s cheerful, low-effort, and feels very fresh.
10. Carrot Garden Accent

Reserve one nail (maybe your ring finger) for a tiny carrot garden. Paint the nail a rich brown (dirt!), then use an orange striper to draw a few little carrot tops peeking out. Add tiny green lines for the fronds. It’s a focused, adorable detail that doesn’t overwhelm your whole hand.
11. Negative Space Bunnies
This is for the true minimalist. Using nail art tape or a steady hand, create the shape of a bunny head in negative space (your natural nail) against a block of pastel polish. It’s a modern, graphic take that always gets compliments. “How did you even do that?” they’ll ask. You can just smile mysteriously.
12. Watercolor Wash Blooms

Channel soft, impressionist watercolor flowers. The trick is to use a slightly wet brush and blend dots of pink, yellow, and green directly on the nail before they dry. It should look soft, blurred, and dreamy—not like defined flowers. Top with a glossy top coat to make the colors pop. It’s romantic and perfectly springy.
13. Groovy ’70s Florals

Big, bold, simple flowers are back. Paint a few large daisy or tulip silhouettes in white or yellow on a dark pastel base, like a deep periwinkle or sage green. Outline them in black for a retro, groovy feel. It’s fun, bold, and full of personality.
14. Easter Egg Stripes
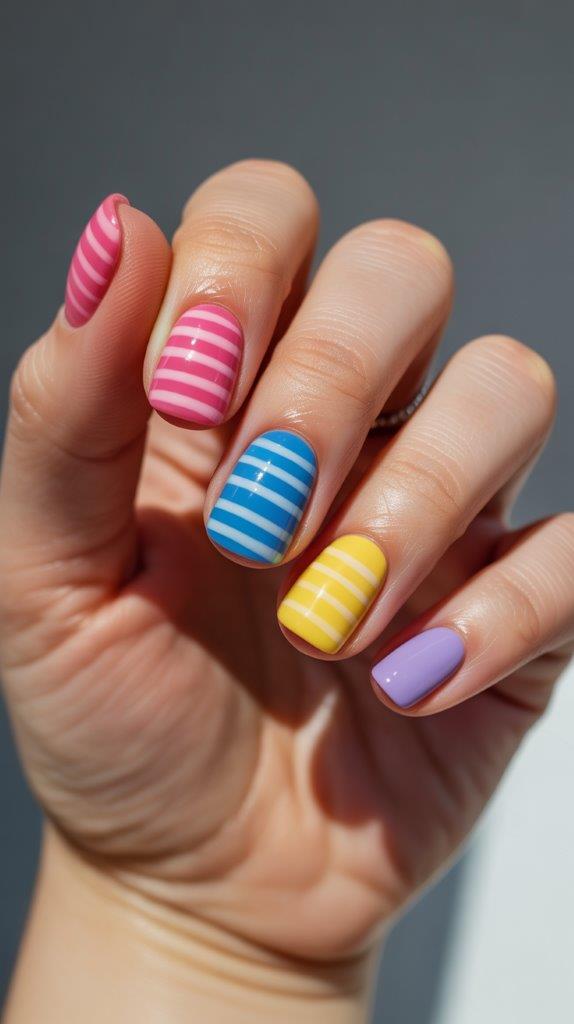
Not all Easter eggs are speckled! Some have stripes. Use thin nail art tape to create clean, horizontal lines in alternating pastels. Try pink and white, blue and yellow, or green and lavender. It’s crisp, colorful, and satisfyingly neat.
15. Little Lamb Fluffy Nails

This one requires a special top coat—a “flock” or velvet powder. Paint your nail a creamy white, apply a sticky top coat, and then gently press on the white flocking powder. It creates a soft, fuzzy texture that’s just like a little lamb. Do it only on one or two accent nails for maximum effect without the… fuzz overload 🙂
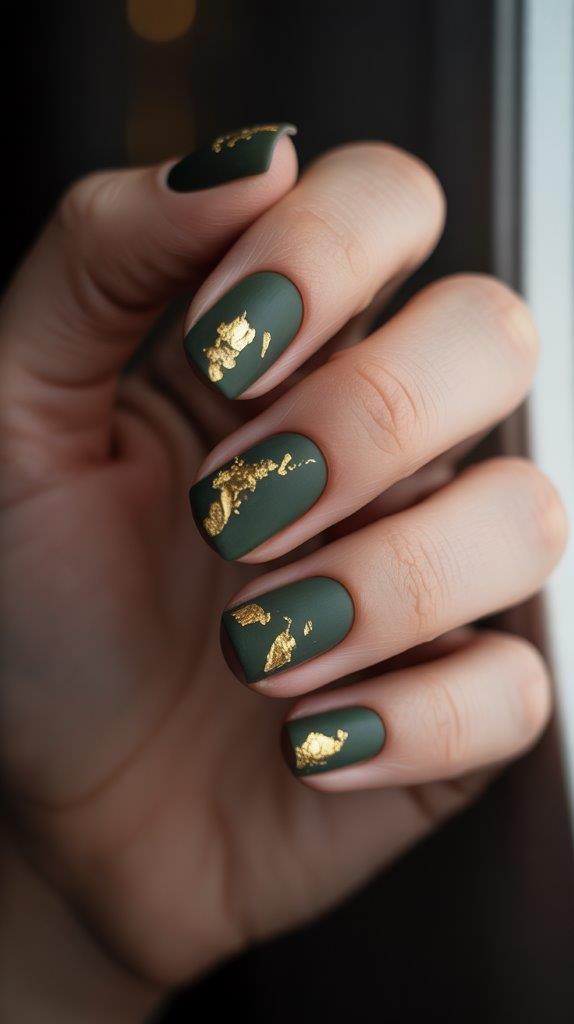
16. Gilded Leaf Accents
Bring in a touch of elegance with delicate gold leaf. After your base color (a deep pastel like plum or forest green works great), apply a small piece of crumbled gold leaf using a dotting tool and top coat. It looks like delicate, gilded vines or abstract art. So chic.
17. Polka Dot Party
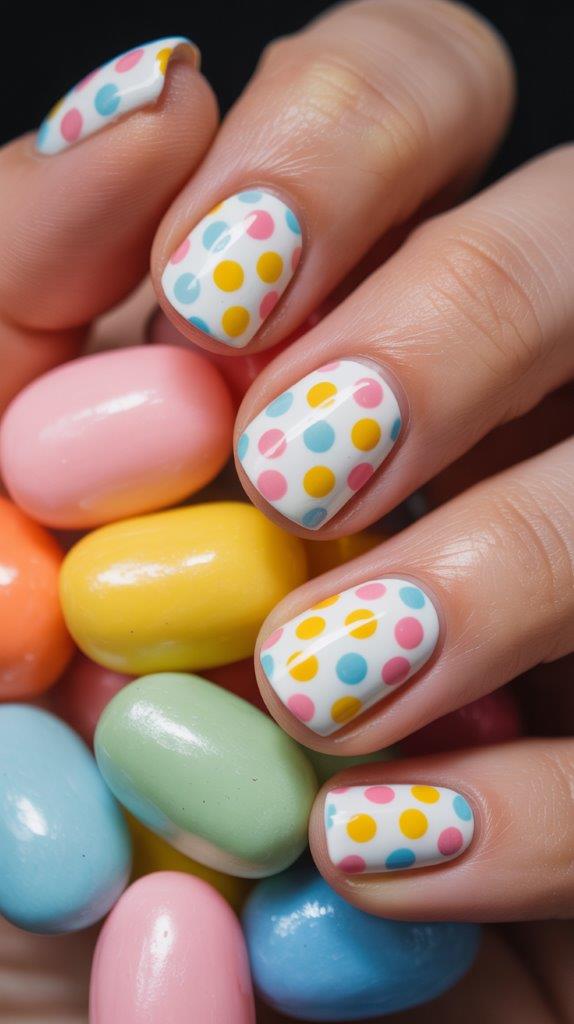
You can never go wrong with polka dots. Use a dotting tool to create uniform dots in a contrasting color. For an Easter twist, do pastel dots on a white base, or white dots on every pastel nail in your mismatched set (see idea #9). It’s timeless and joyful.
18. Stained Glass Nails

This looks insane but is totally manageable with black nail art tape or a very fine brush. Paint your nail a light color. Once dry, create a “leading” design with black lines (like irregular geometric patterns). Then, fill in the different sections with various pastel polishes. It’s a stained glass window on your fingertips!
19. Marbled Pastel Swirls
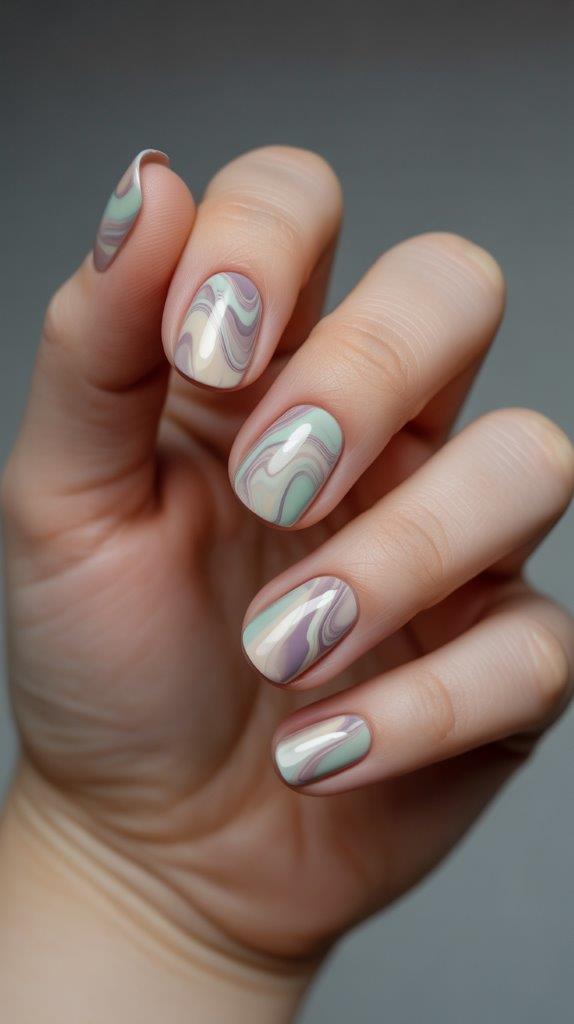
The marble trend is forever, and it’s gorgeous for Easter. In a small cup of water, drop in rings of 2-3 pastel polishes. Swirl them with a toothpick, then dip your nail into the design. Every nail turns out unique, with beautiful, swirling patterns. It’s mesmerizing.
20. “Bunny Tail” Textures

Create an accent nail that looks like a fluffy bunny tail. Paint the nail a soft pink, then apply a thick dollop of a white textured or “sugar” polish. You can also use white microbeads. It’s tactile, cute, and hilarious in the best way.
21. Abstract Brush Strokes
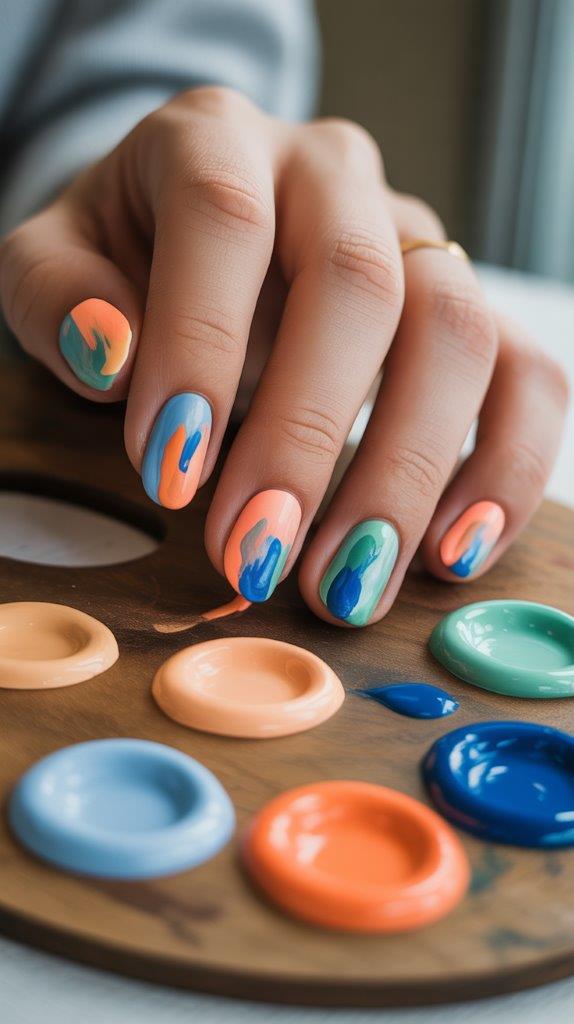
Grab a thin, flat brush and some pastel polishes. Make bold, sweeping strokes across your nail, letting the colors overlap slightly. Don’t overthink it! The goal is an artistic, effortless look. It feels modern, painterly, and cool.
22. Easter Basket Weave

This is for the detail-oriented! Using a thin brush and a tan or brown polish, paint a criss-cross “woven” pattern on one nail. Add a tiny pastel “egg” or two sitting in the weave. It’s an incredible detail that shows off some serious skill (or a very good stamping plate!).
23. Negative Space Half-Moons

Let your natural nail show in the half-moon shape at your cuticle, and fill the rest of the nail with a bright pastel. Or, reverse it! This plays with geometry and feels fresh and clean. A tiny pearl at the intersection of the two spaces? Perfection.
24. Simple Sparkle Statement

Sometimes, less is more. Paint all your nails a gorgeous, solid pastel—think the perfect robin’s egg blue. Then, on your ring fingers, go all out with a full coat of chunky pastel glitter. It’s a simple statement that says, “I’m celebrating, but I also have my life together.” IMO, it’s the perfect balance.
Quick Tips for Making Your Easter Mani Last
FYI, a cute design is nothing if it chips in a day. Here’s my routine:
- Prep is everything: Clean nails, push back cuticles, and use a dehydrator/primer.
- Wrap the tip: Always swipe the polish over the very edge of your free nail.
- Seal it in: A good quality top coat is non-negotiable. Reapply every 2-3 days for a glossy shield.
So, which idea are you trying first? Honestly, I might have to start with the Speckled Egg and work my way through the list all spring. The best part about nail art is that it’s temporary—so you can be as bold or as subtle as you feel that week. Have fun with it, and don’t stress about perfection. A little wobbly line just adds character… or at least that’s what I tell myself :).
Happy painting! Can’t wait to see your 2026 Easter creations.
Leave a Reply
You must be logged in to post a comment.