
Let’s be real. The holiday season is chaotic enough without your manicure adding to the stress. You want something festive, but the thought of chunky glitter, lopsided snowmen, or—heaven forbid—a nail art sticker that peels off after one glass of eggnog is enough to make you want to go bare-nailed until January.
What if you could have a manicure that’s both unmistakably Christmasy and incredibly elegant?
Enter the holly berry. This little sprig is the secret weapon for a classy Christmas look. It’s timeless, it’s versatile, and it’s a heck of a lot easier to paint than a reindeer’s face. I swapped my usual glitter bomb for a simple holly design a few years back and never looked back. Suddenly, my nails worked for both wrapping presents and a fancy holiday party. No regrets.
If you’re ready to elevate your holiday style, you’ve come to the right place. Let’s dive into 19 festive holly nail designs that are anything but basic.
Why Holly Nails are a Holiday Game-Changer
Ever wondered why holly feels so much more sophisticated than other holiday motifs? It’s not just you.
While snowmen can be cute and Santa is fun, holly has this innate, botanical elegance. It’s a natural element, which means it brings a touch of organic beauty to your look. The color combo is a classic for a reason—that deep, forest green and vibrant pop of red is visually striking without being loud.
But the best part? Its versatility. You can make holly the star of the show on a bold red nail, or let it play a subtle supporting role on a nude base. It works with glitter, matte finishes, gold foil, you name it. It adapts to you, not the other way around.
Gearing Up: Your No-Fuss Holly Nail Art Kit
Before you protest that you lack the artistic gene, let me stop you. I’m a certified fumbler with a brush, and I’ve still managed to create stunning holly nails. You don’t need a pro kit; you just need a few key items.
Here’s your shopping list (which is probably already in your bathroom):
- Base & Top Coat: A quick-dry top coat is your best friend. It prevents smudges and seals your art. This is non-negotiable for a flawless finish.
- Core Polishes: A rich green, a classic red, and a base color (nude, white, crimson, etc.).
- Dotting Tool: The ultimate cheat tool. Use a dedicated dotter, a bobby pin, or a toothpick. This will form your berries and leaves.
- Thin Detail Brush: For drawing vines and leaf details. A cheap nail art brush from a kit works perfectly.
- Scotch Tape: For creating sharp, graphic lines and color blocks.
See? Nothing fancy. Now for the main event.
19 Holly Nail Designs to Inspire Your Manicure
1. The Minimalist Accent
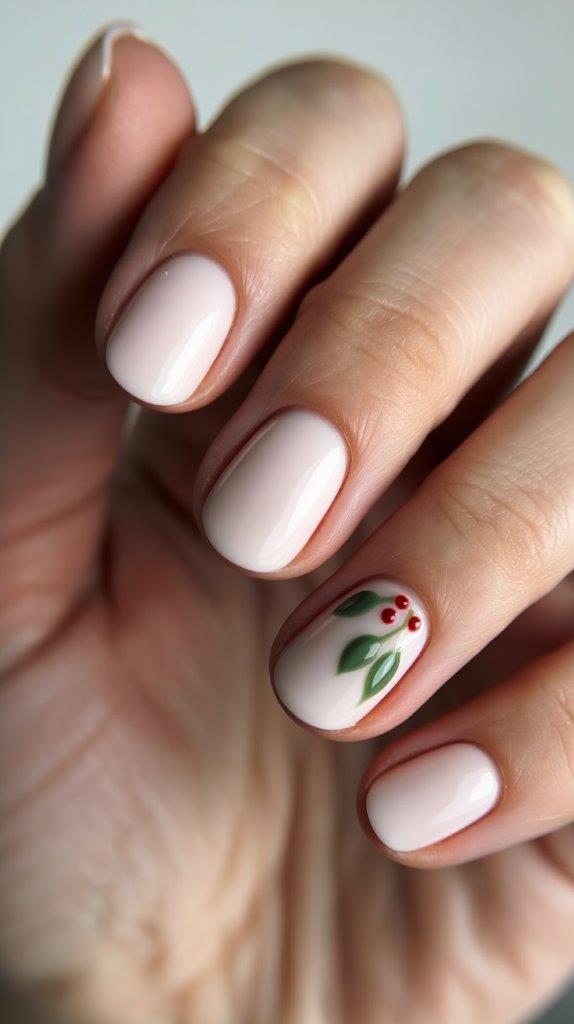
Keep it simple and chic. Paint all nails a soft, creamy white. On your ring finger, use a dotting tool to create two small green dots for leaves and three tiny red dots for berries above them. Understated perfection.
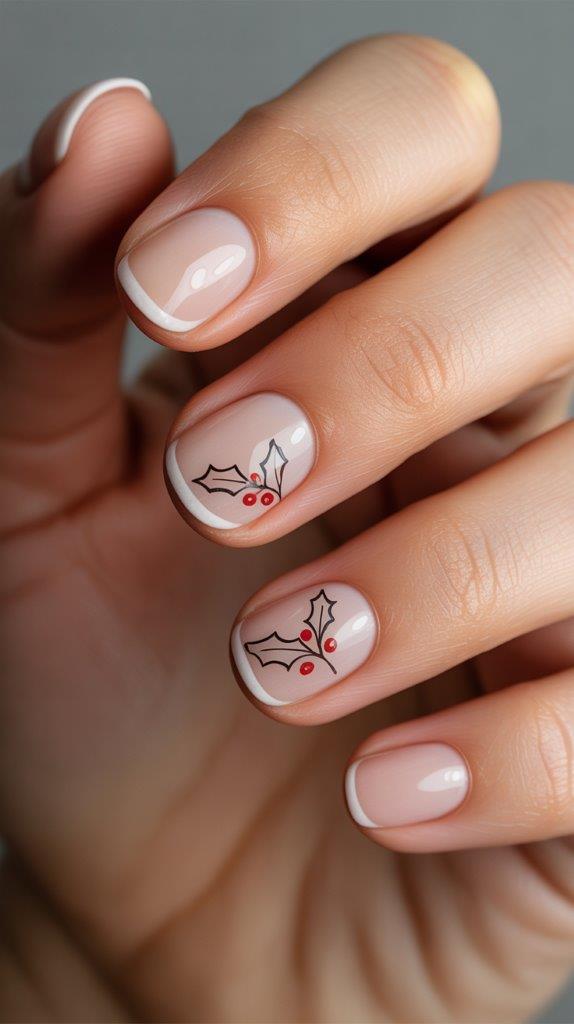
2. The French Tip Upgrade
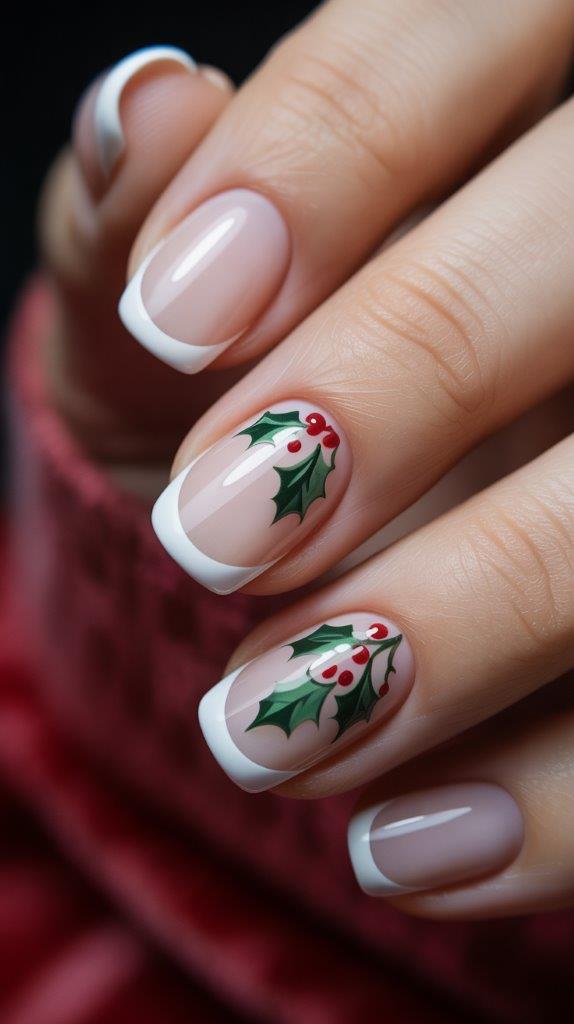
Elevate the classic French manicure. Paint a crisp white tip, then use a detail brush to paint a delicate holly sprig with two leaves and three berries overlapping the line. Instant elegance.
3. The Glittery Gradient
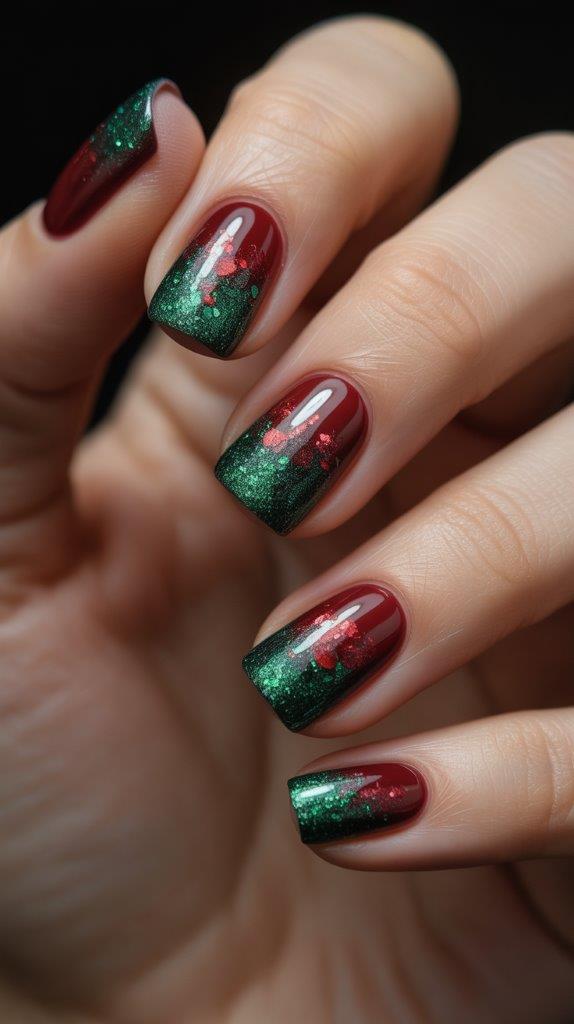
For a touch of sparkle, paint your nails a deep burgundy. Using a makeup sponge, dab a green glitter polish onto the tips to create a fade. Press a few red micro-glitters into the green for berries while it’s still wet.
4. The Jewelled Berry
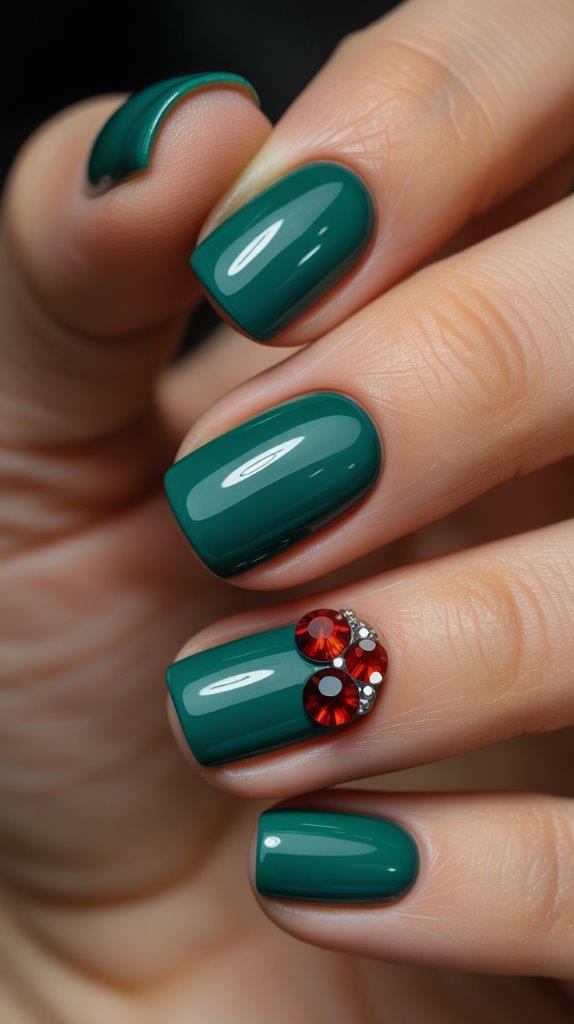
Maximum glamour, minimum effort. Paint your nails a solid emerald green. Then, using nail glue, place three small red gemstones in a little cluster on one nail. It looks expensive and takes seconds.
5. The Negative Space Sprig
Modern and cool. Leave your nail bare or use a clear gloss. With a thin brush, paint a simple holly branch with leaves and berries directly onto the naked nail. It’s lightweight and editorial.
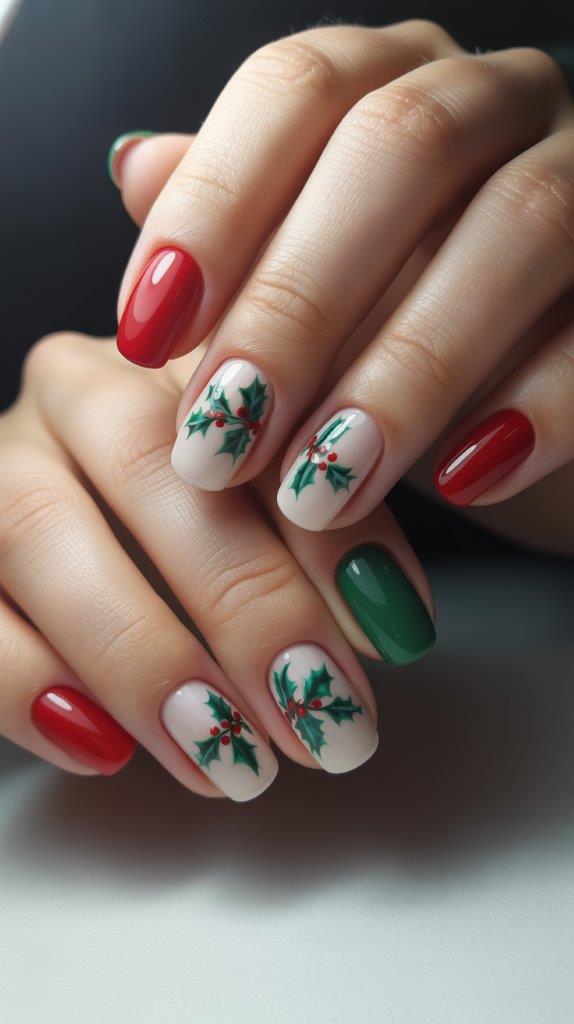
6. The Bold Red Base
Go dramatic with a classic crimson on all nails. On an accent nail, paint the holly leaves in a shimmery gold or a stark white. The high contrast is breathtakingly chic.
7. The Fair Isle Inspiration
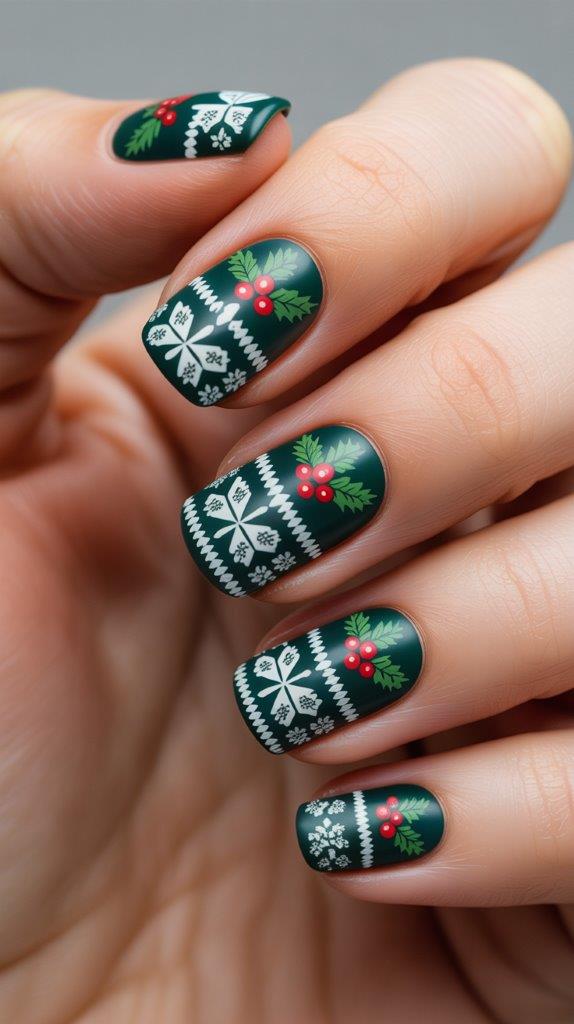
Channel your favorite Christmas sweater. Paint a simple fair isle pattern (think snowflakes and X’s) in white on a dark green base. Tuck a small holly design into the pattern.
8. The Gold Foil Luxury
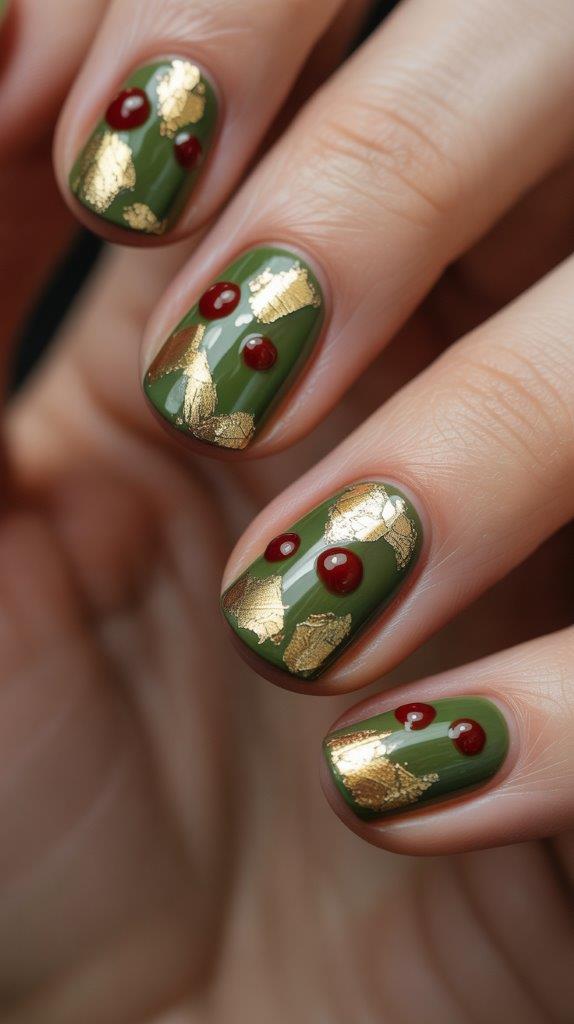
Paint nails a rich forest green. Let dry completely. Using a top coat as glue, carefully apply small pieces of gold leaf transfer foil. Add your red berry dots last. Pure, opulent luxury.
9. The Stamped Lace
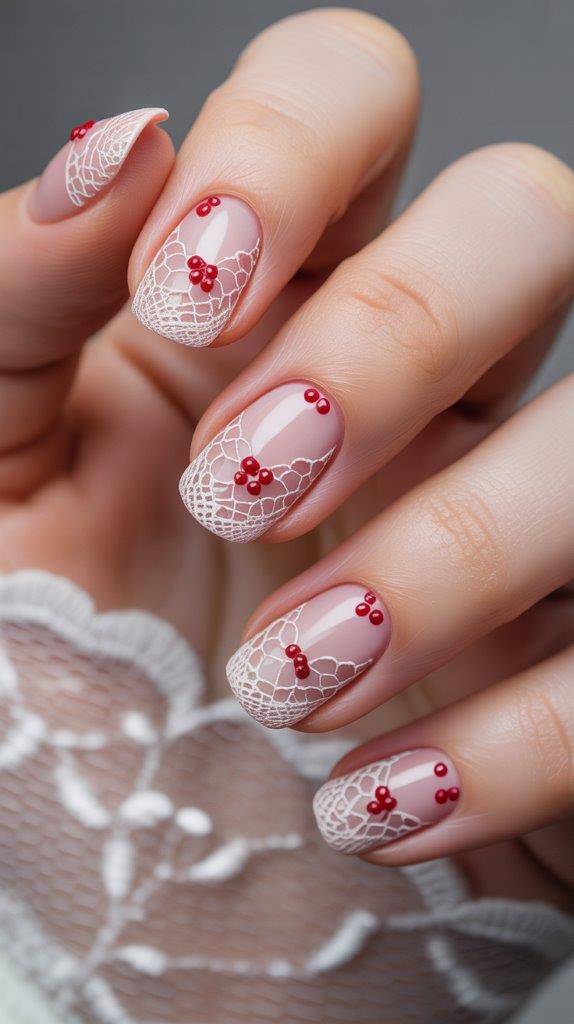
If you have a nail stamping kit, this is a breeze. Stamp a delicate white lace pattern onto a dark base. Then, use your dotting tool to add clusters of holly berries, integrating them into the lace.
10. The Matte & Glossy Mix

A textural masterpiece. Paint your nails a deep green and use a matte top coat. Once dry, use a glossy top coat and a small brush to “draw” glossy holly leaves and berries. The subtle effect is so classy.
11. The Almond-Shaped Vine
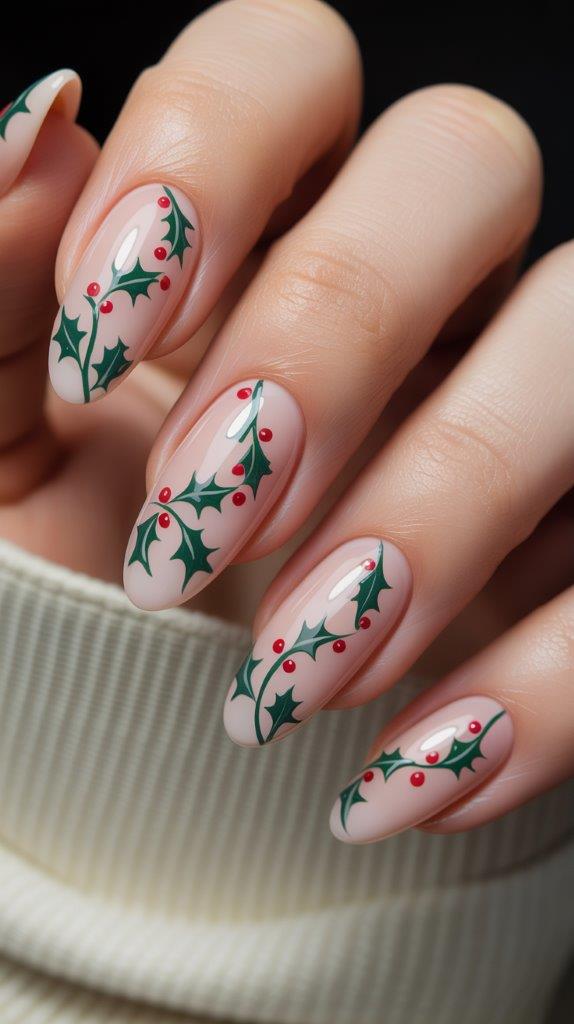
If you rock almond or oval nails, use the length! Paint a long, swirling holly vine that starts at the cuticle and curves gracefully toward the tip. It’s elegant and elongating.
12. The “Stained Glass” Art

For the artistically inclined. Use a black nail art pen to outline holly leaves and berries on a clear or white base. Carefully fill in the shapes with green and red polish, like a stained-glass window.
13. The Cozy Knit Texture

Create a sweater-like background. Paint nails a solid color. Then, use a dry, coarse sponge to lightly dab on a slightly different shade (light green over dark green). Add your holly on top for the ultimate cozy vibe.
14. The Geometric Moment

Use scotch tape to create clean triangles or lines on your nail. Paint the shapes in a contrasting color. Place a minimalist holly design in one of the geometric sections. Modern and fresh.
15. The Starry Night Sky
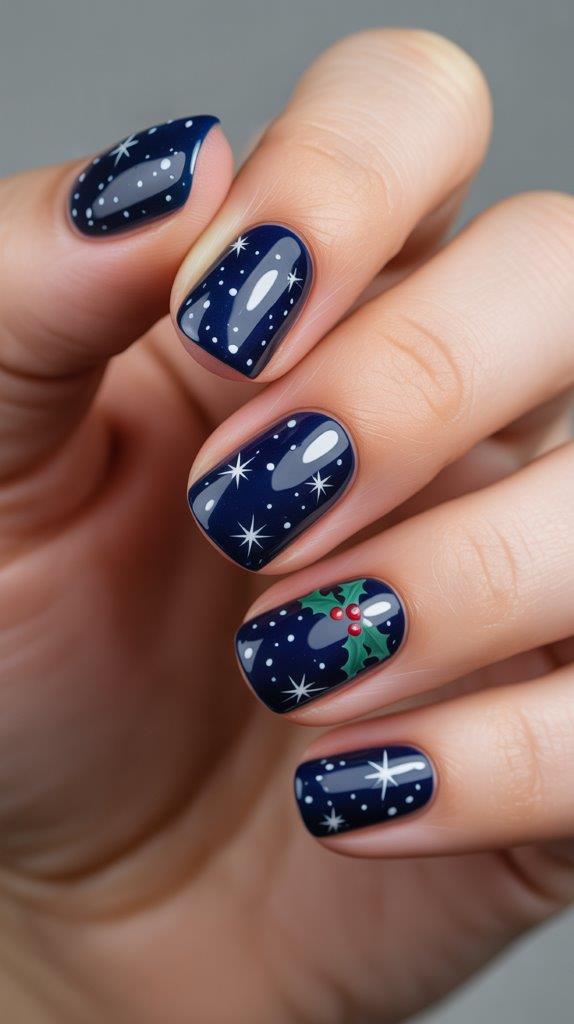
Paint a dark blue nail and use a fine brush to create tiny white stars. Cluster a small holly design in one corner, as if it’s resting under the winter sky. Whimsical and beautiful.
16. The Soft Ombre Background
Create a gentle ombre effect from red to green on your nail. Once dry, add a detailed holly sprig in the center. The blended background makes the design stand out beautifully.
17. The Single Berry Statement
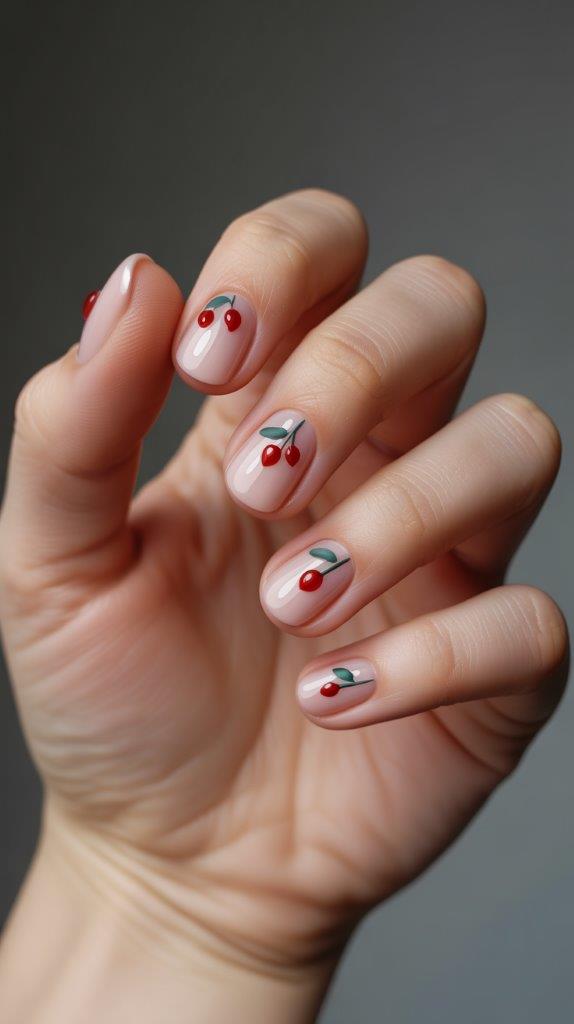
The epitome of “less is more.” On a nude or soft pink base, paint a single, perfect red berry with two tiny green leaves peeking out. It’s quiet, confident, and incredibly chic.
18. The Checkered Print
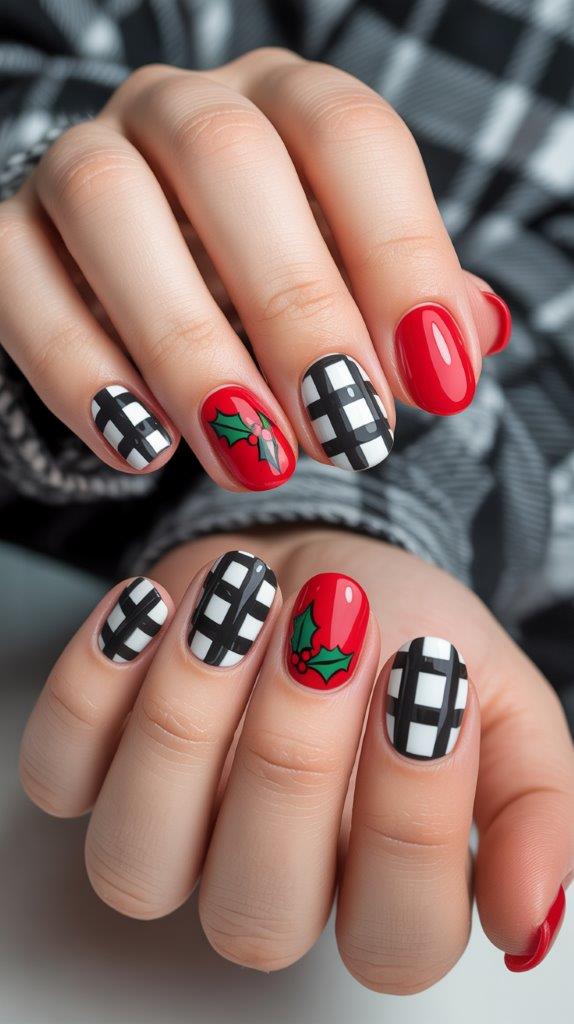
A playful twist. Paint a classic black and white checkered pattern on an accent nail. On the nail next to it, do a solid color with a holly design. The mix is fun and fashion-forward.
19. The Watercolor Wash
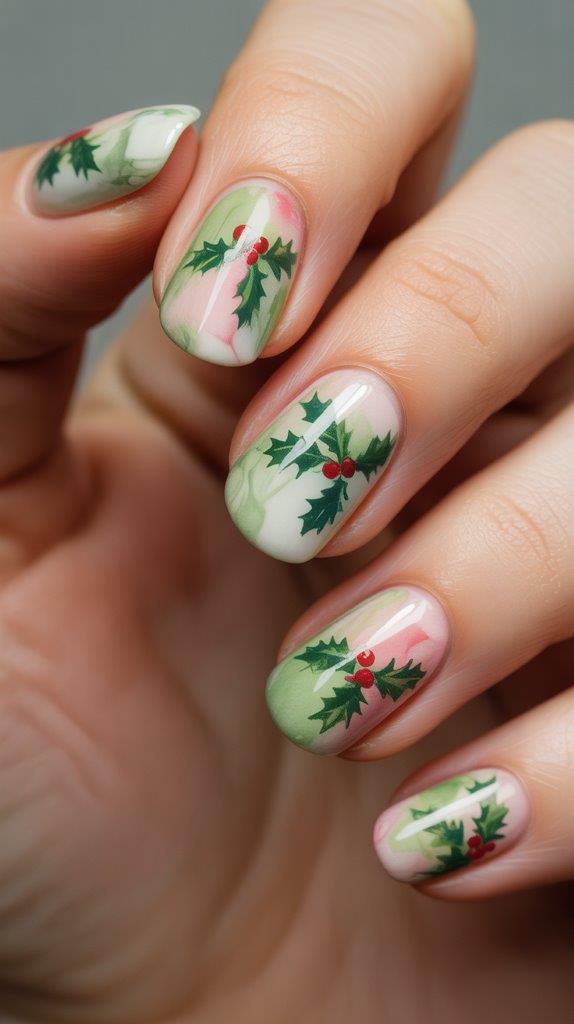
For a soft, artistic look. Drop a bit of light green and red polish onto a plastic surface with a drop of clear top coat. Swirl lightly, then drag your nail through the mixture. Once dry, define a holly sprig on top with a thin brush.
Your Pro-Tips for a Flawless Finish
How do you make sure your handmade holly looks deliberate and not derailed? A few simple tricks.
- Start Simple: Build your confidence with the Minimalist Accent or Jewelled Berry design first.
- Patience is a Virtue: Work in layers. Let your base color dry completely before adding leaves. Let the leaves dry before adding berries. This prevents a smudgy mess.
- Clean Up Those Edges: Keep a small brush dipped in polish remover handy to clean up your cuticles. A clean canvas makes all the difference.
- Embrace the Quirks: Hand-painted art has charm. A slightly wobbly line gives it character. IMO, it’s better than looking sterile and machine-made. 🙂
So, which design has caught your eye? Whether you choose the subtle statement of a single berry or the luxurious glimmer of gold foil, you’re choosing a holiday classic with a serious style upgrade.
Your most festive—and classiest—manicure yet is waiting. Go get it
Leave a Reply
You must be logged in to post a comment.