
Ho, ho, hold on a second! Is your little one already vibrating with festive energy, demanding their fingers look as merry as the tree? I feel you. Trying to do intricate nail art on tiny, wiggly fingers with short nails can feel like trying to wrap a hyperactive octopus. But guess what? Short nails are actually the perfect canvas for cute, easy, and seriously adorable Christmas designs.
No, really! Forget the stress. I’ve been there, covered in glitter and regret. That’s why I’ve rounded up 21 absolutely easy kids’ Christmas nail ideas that are made for short nails. We’re talking quick-dry, minimal fuss, and maximum “aww” factor. Ready to turn those tiny tips into a holiday masterpiece? Let’s get this (nail polish) party started!
Why Short Nails Are Actually Your Best Friend
Before we dive in, let’s have a little pep talk. Are you mourning the lack of space on those tiny nail beds? Don’t! IMO, short nails are the unsung heroes of kids’ manicures.
- Less Chipping: Shorter nails mean less surface area to bump, scrape, and chip. The design will last longer, which is a win for everyone.
- Kid-Friendly: Let’s be real, long nails on kids are just little dirt magnets and accidental eye-pokers. Short is safe and practical.
- Faster Drying Time: Less nail = less polish. This is a cardinal rule. You can get a whole design done in the time it takes for one episode of their favorite holiday special.
See? We’re already winning. Now, let’s get to the good stuff.
Gearing Up: Your Mini Nail Art Kit
You don’t need a professional kit. In fact, you probably have most of this lying around. My number one tip? Get a quick-dry top coat. It’s the holy grail for kids’ manis. Here’s your basic starter pack:
- Base Coat: Protects those tiny nails.
- A Few Key Polish Colors: Red, green, white, and a sparkly gold or silver.
- Quick-Dry Top Coat: I’ll say it again. This is non-negotiable.
- Dotting Tools: No, you don’t need to buy fancy ones. A bobby pin, a toothpick, or the end of a straightened paperclip works perfectly.
- Scotch Tape: For creating super clean lines.
- A Small Makeup Sponge: For effortless gradients.
Okay, tools down. Let’s paint!
The 21 Easiest Christmas Nail Ideas for Short Nails
1. The Classic Candy Cane Stripes
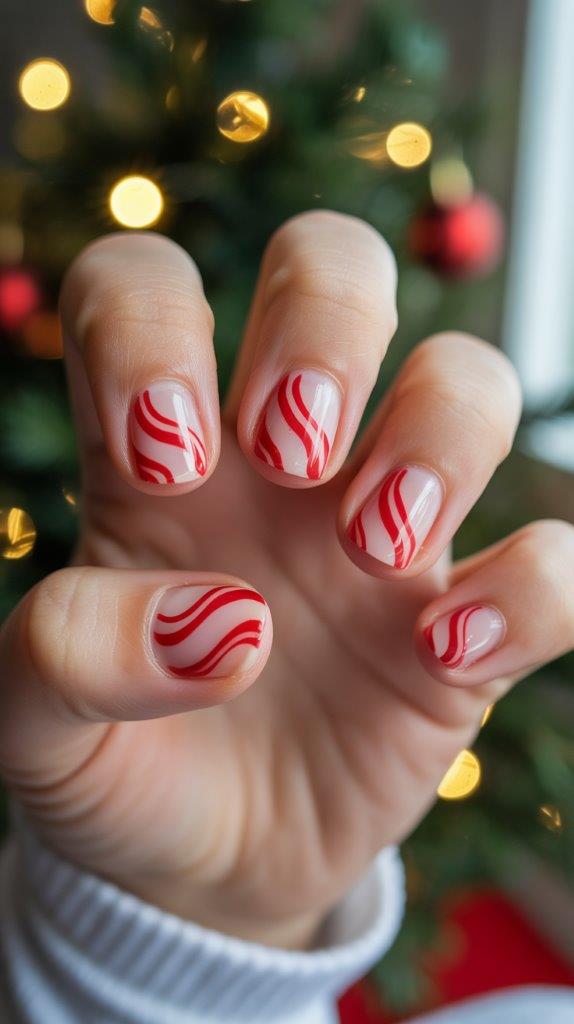
This is easier than you think, I promise. Paint the nail white and let it dry completely. Then, take a thin brush (or even a toothpick) and draw wavy red lines. It doesn’t have to be perfect! The whimsical, hand-drawn look is part of the charm. Top with a glossy coat.
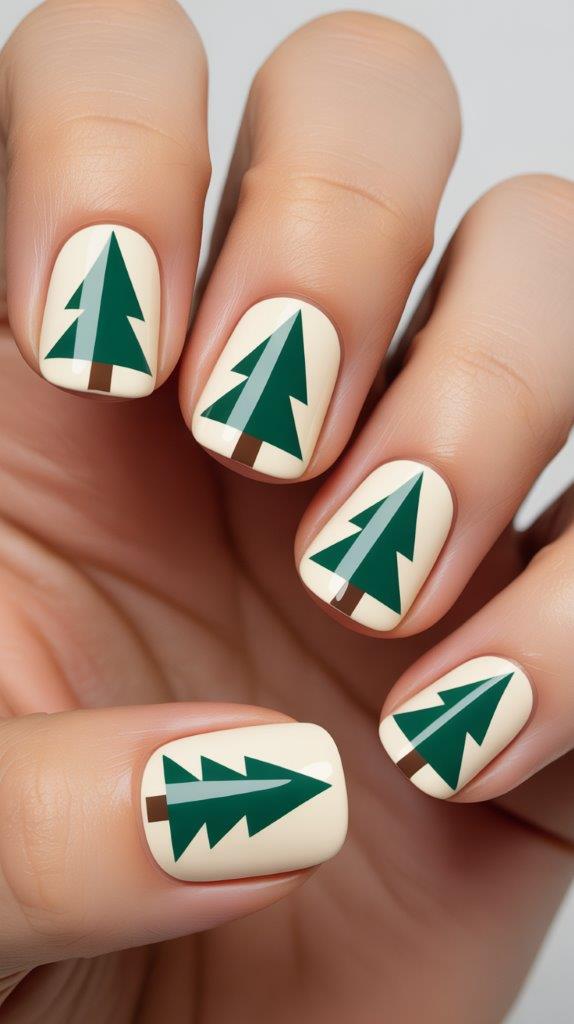
2. The One-Stroke Christmas Tree
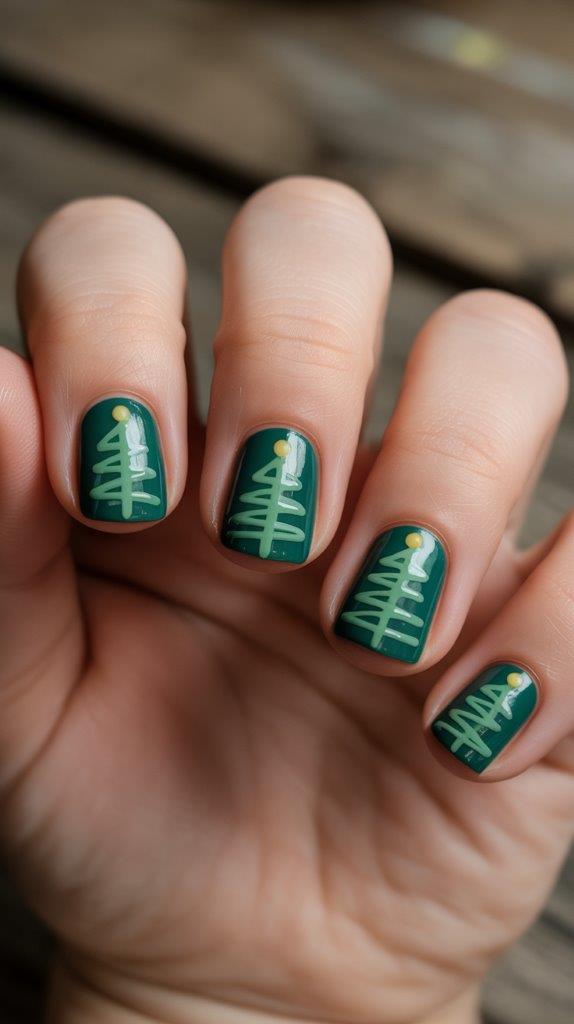
Paint the nail a fun green. Then, using a thin brush or a striper, start at the top center of the nail and pull the polish down and out to one side to make a triangle shape. Repeat for the other side. It creates a simple, elegant tree silhouette. Add a tiny yellow dot (a bobby pin is perfect for this) on top for a star.
3. Polka-Dot Party
This is the ultimate “looks fancy, is actually zero-effort” design. Paint the nail a solid color—think red, green, or a shimmery blue. Then, use your dotting tool to create random or patterned dots in a contrasting color. White on red? Adorable. Gold on green? Festive perfection.
4. The Sparkly Gradient
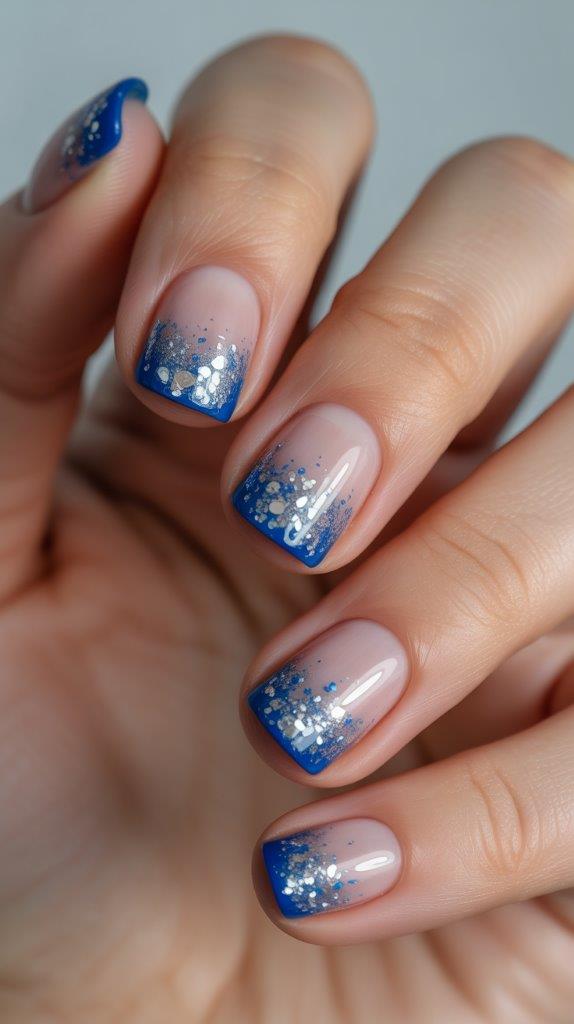
Kids love glitter. It’s a fact. Paint the nail with a solid base color. Then, take a small piece of a makeup sponge, dab a bit of glitter polish onto it, and gently press it onto the tip of the nail. It creates a gorgeous, sparkly fade that hides any imperfections.
5. The Simplest Santa
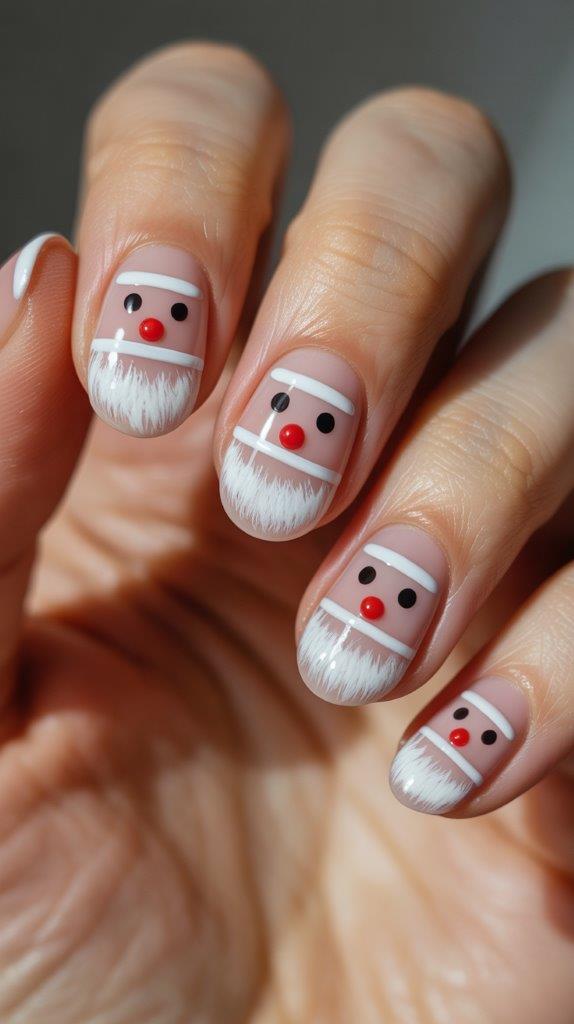
Paint most of the nail with a skin-toned or light pink polish for the face. At the very tip, create a thick white line for the beard. Then, just above it, add a tiny red dot for the nose and two little black dots for eyes. It’s instantly recognizable and so cute.
6. Tape-On Perfection
Want crisp lines and shapes without the shaky hands? This is my go-to trick for clean designs. Paint the nail with your base color and let it dry completely. Then, place a small piece of scotch tape in a pattern (like a triangle for a tree or stripes for a present) and paint over it with your second color. Peel the tape off immediately to reveal a perfect shape.
7. The Dashing Reindeer
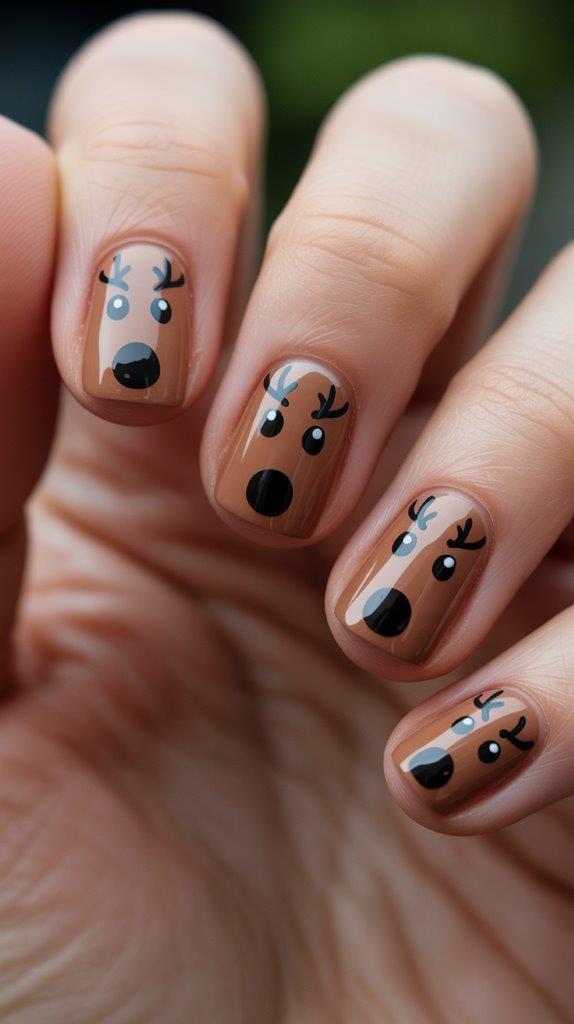
Paint the nail a warm brown. Let it dry. Use your dotting tool to add a big, black dot near the tip for the nose. Then, add two smaller black dots higher up for eyes. Finally, use a toothpick to draw tiny, simple antlers from the top. Rudolf would be proud.
8. The “Ornament” Nail
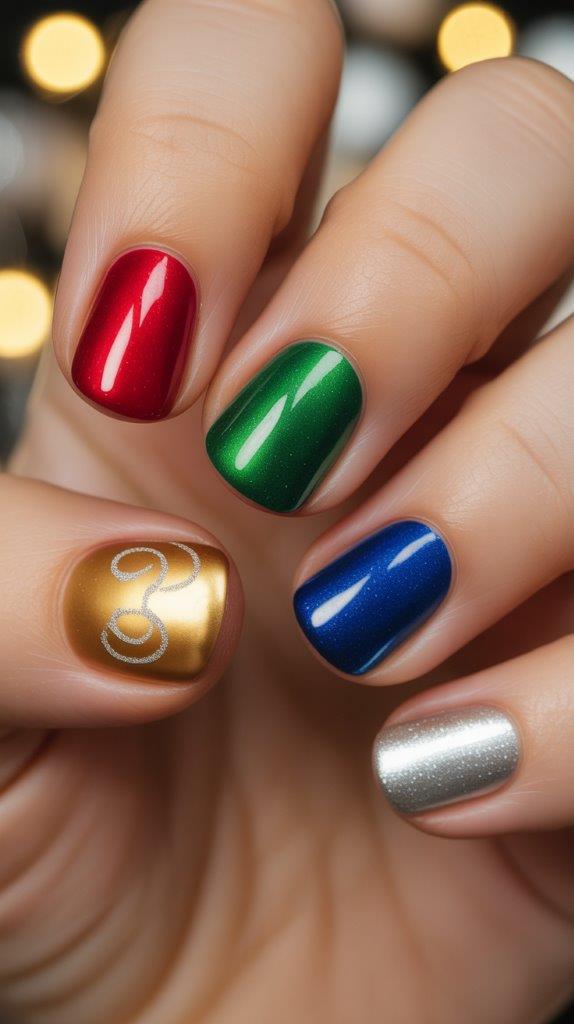
Paint each nail a different solid, bright color—red, green, gold, blue. Then, on one or two accent nails, use a dotting tool or a toothpick to draw a little squiggle at the top in gold or silver, like the hook of a Christmas ornament. So simple, so effective.
9. The Cozy Sweater Print
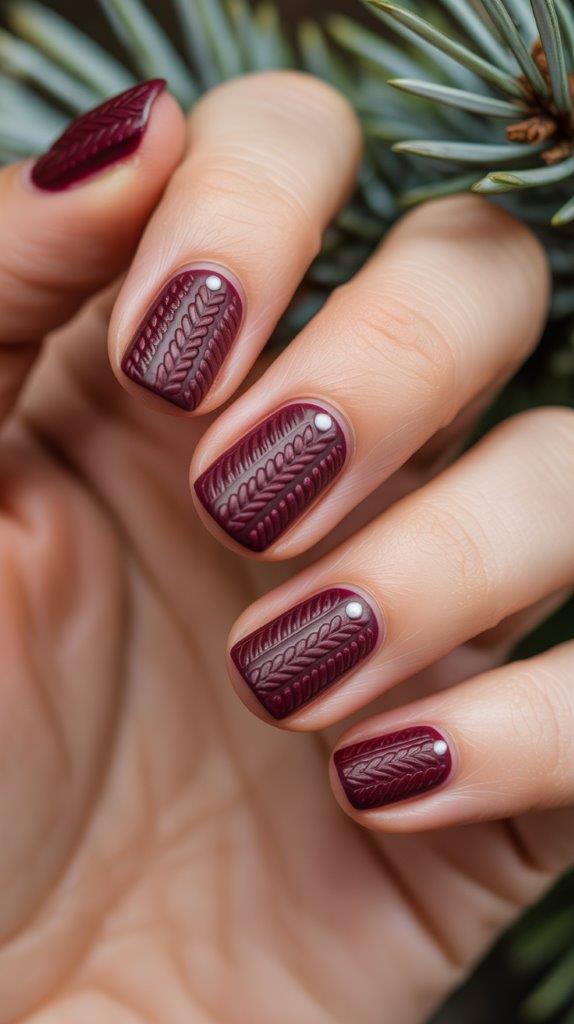
Paint the nail a solid color. Once it’s dry, use a striper brush or a toothpick to draw a few simple, intersecting wavy lines in a contrasting color to mimic a knit sweater pattern. Add a few tiny dots where the lines cross for that authentic cable-knit look.
10. The Shimmery Snowflake
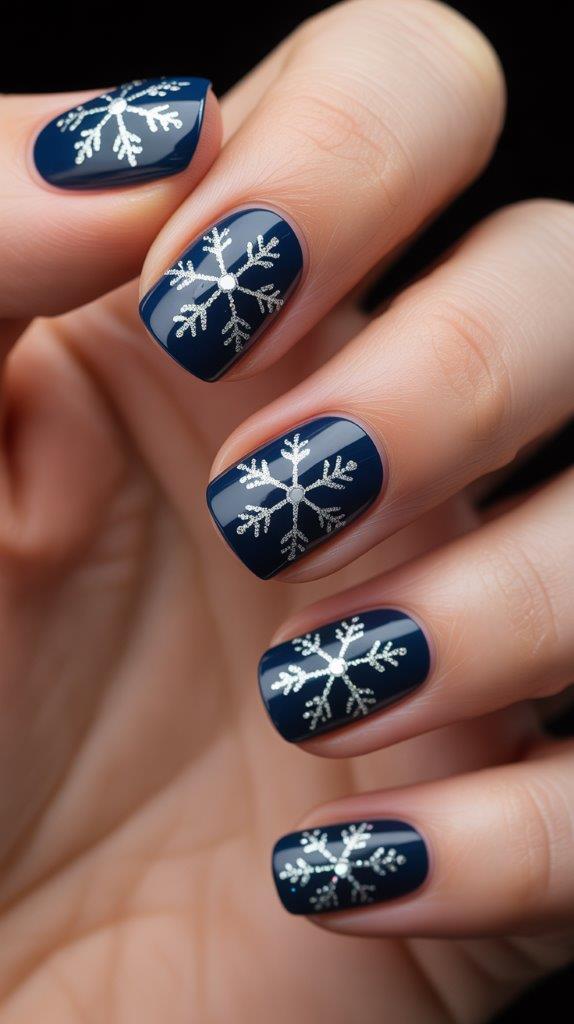
Paint the nail a dark blue or navy. Then, using a white polish or a gel pen (seriously, those work great!), draw a simple “X.” Then draw a straight line through the middle of the X. Boom. You have a snowflake. Add a tiny dot of glitter to the center to make it pop.
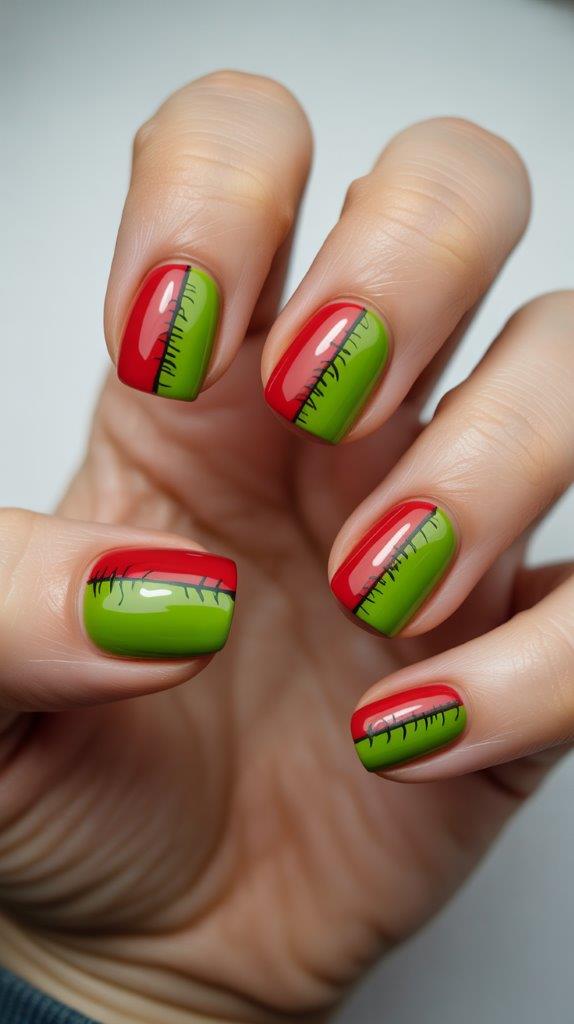
11. The Grinch Green & Red Combo

This one is all about color blocking. Paint the bottom half of the nail Grinch-green and the top half red. You can use tape for a clean line or just freehand it for a fun, messy look. It’s bold, bright, and totally festive.
12. The Jingle Bell
Paint the nail a metallic gold or silver. At the tip, use a black polish pen or a careful toothpick to draw a little half-circle “slit” on the bell. Add a tiny black dot inside for the clapper. It’s such a fun and unique design.
13. The Whimsical Wreath
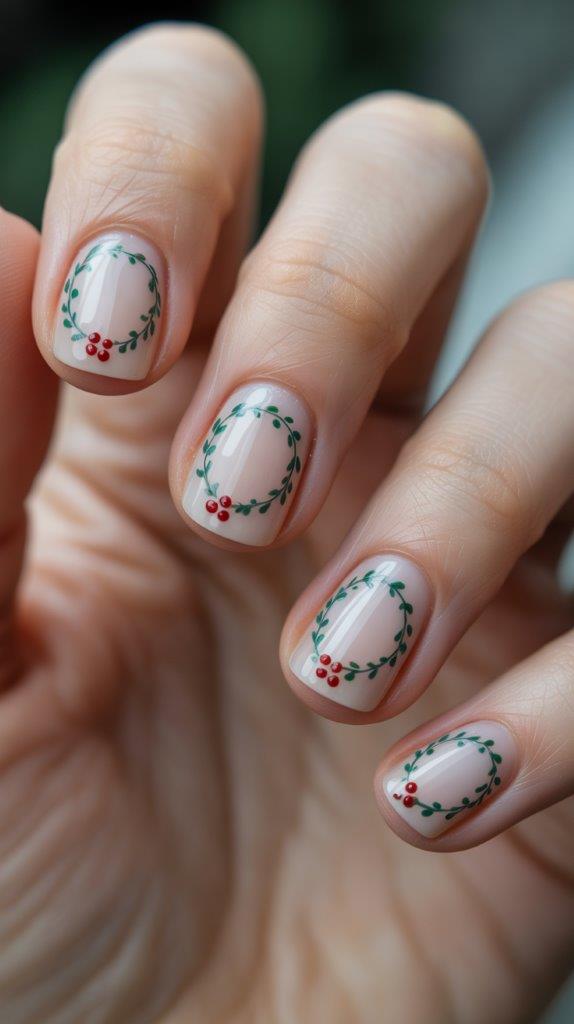
This sounds hard, but it’s not! Using a dotting tool, create a circle of little green dots on a nude or red base. Leave a tiny space empty at the top. Then, add a few tiny red dots around the green circle for the berries. So cute, right?
14. The Peppermint Swirl

Another one that seems tricky but is a dotting tool’s time to shine. On a white base, place a few random red dots. Then, before the red dots dry, use a toothpick to swirl from the center of the dot outwards. It creates a beautiful, marbled peppermint effect.
15. The Festive French Tip

A classic with a holiday twist. Instead of a white tip, do a red or green one! Or, for extra fun, do a sparkly gold tip. It’s elegant, easy, and grows out gracefully.
16. The Shiny Present
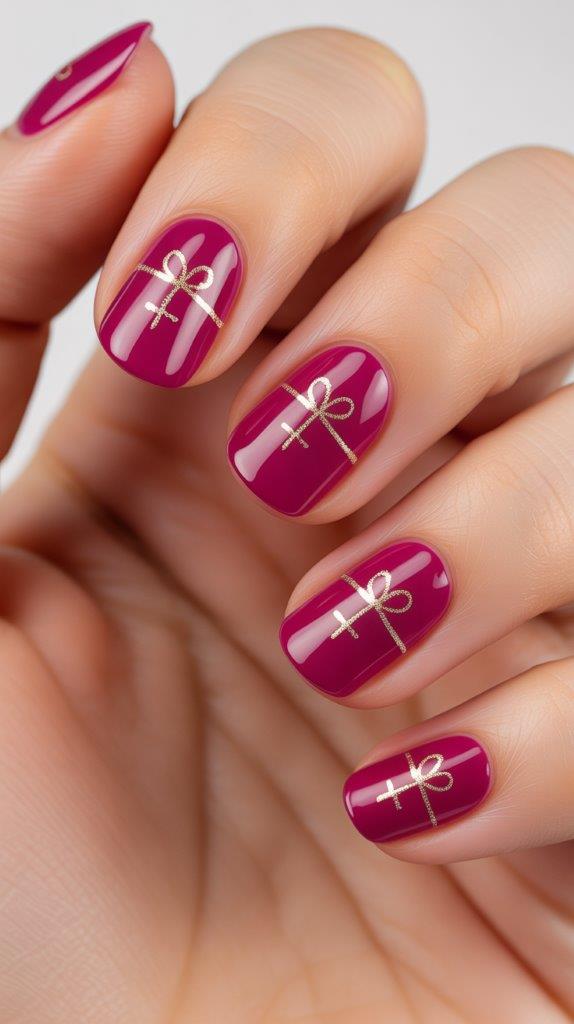
Paint the nail a solid, fun color. This is your gift wrap. Once dry, use a contrasting color to draw a simple plus-sign (+) in the middle of the nail. Then, in the center of the plus sign, draw a tiny bow. It’s a little present on every finger!
17. The “Fairy Light” Nail
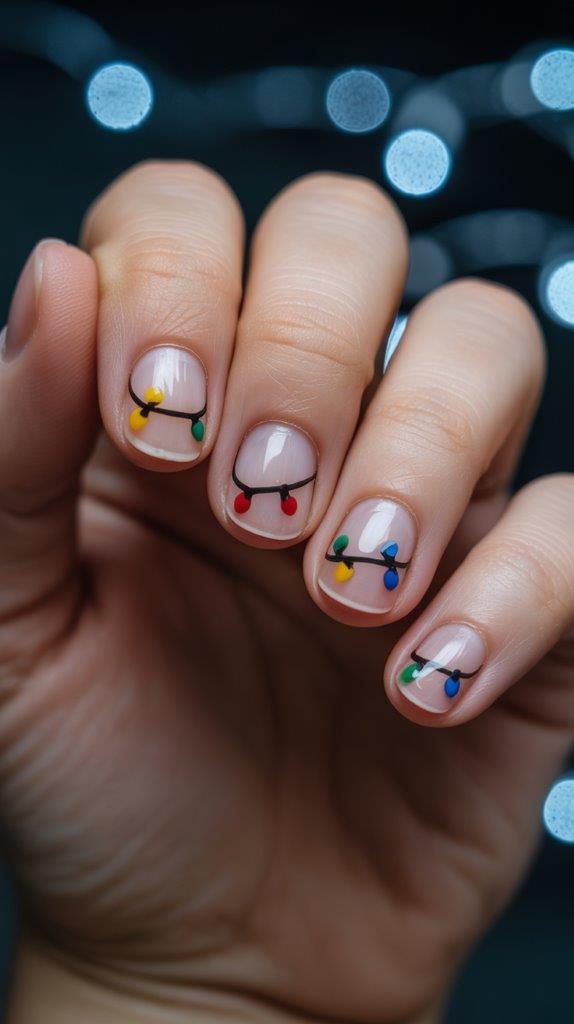
Paint the nail a dark color like navy or black. Then, using your dotting tool, place a few random colored dots (yellow, red, blue, green) to represent bulbs. Use a toothpick to connect them with a single, squiggly white line. Instant Christmas lights!
18. The Polar Bear Paw
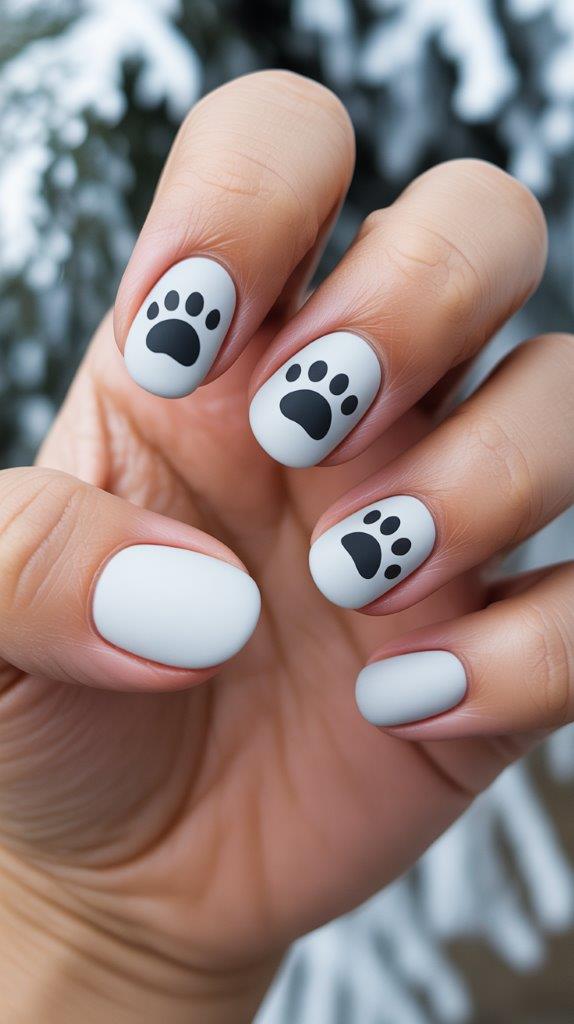
This is adorable for animal lovers. Paint the nail white. Then, using a black polish pen or a careful hand with a toothpick, draw three small black dots at the tip of the nail for the paw pads and two slightly higher up for the top of the paw. It’s unbearably cute. (See what I did there? ;))
19. The Mistle-toe Simple
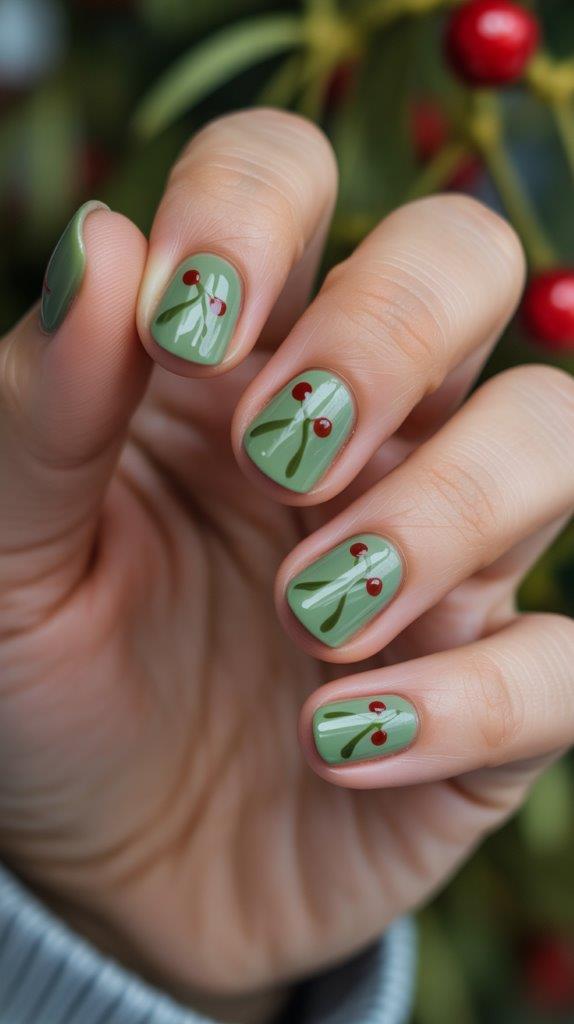
Paint the nail a light green. Then, simply use a dotting tool to place two or three small red dots on the nail. That’s it! Everyone will know what it is, and it took you about five seconds per nail.
20. The Glitter Bomb
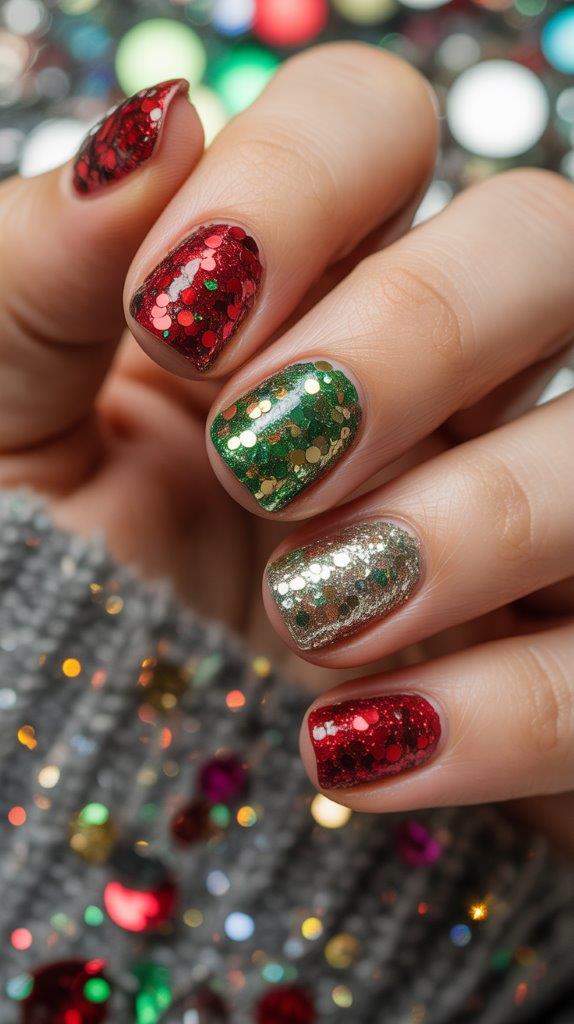
Okay, sometimes you just have to embrace the chaos. Paint the nail with a clear or colored base and then let your kid go to town with loose glitter or a heavy-glitter polish. It’s messy, it’s fabulous, and they will be obsessed. FYI, do this over a tray or a piece of paper to contain the sparkle-pocalypse.
21. The “I Have Five Minutes” Special
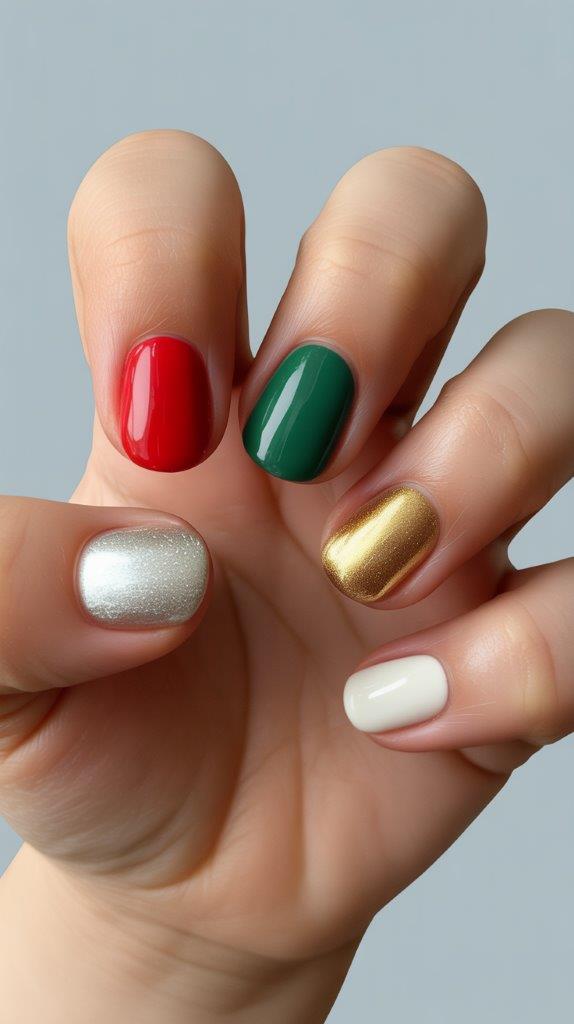
We’ve all been there. No time, no energy. The solution? Paint each nail a different solid Christmas color—red, green, gold, silver, white. Maybe add a single coat of a clear sparkle topcoat over everything. It looks intentional, fun, and requires zero skill.
Pro Tips for a (Mostly) Stress-Free Session
Ever wondered how to keep a kid still for more than 30 seconds? Here’s what I’ve learned the hard way:
- Set the Scene: Put on a Christmas movie! Distraction is your best friend.
- Keep it Short: Aim for one accent nail per hand or just their thumbs. You don’t need to do a full, intricate set on all ten fingers.
- Praise Heavily: Tell them how amazing their nails look. Their excitement is the best reward.
- Use Non-Toxic Polish: This one is a given, but always double-check your labels.
- Have Nail Polish Remover & Q-Tips Handy: For cleaning up little mistakes around the edges. It makes the final result look a million times neater.
So, which design are you trying first? Whether you go for the simple polka dots or brave the Glitter Bomb, the most important thing is to have fun with it. These little moments of creativity are what make the holiday season so magical.
Now go forth and make some merry little manicures! And if you try any of these, I’d love to see them. Tag me on your socials or just bask in the glory of your own nail art success. You’ve got this! 🙂
Leave a Reply
You must be logged in to post a comment.