Okay, let’s be real for a second. When you think of Christmas, what are the two colors that immediately pop into your head? It’s red and gold, and for good reason. They’re the ultimate power couple of the holiday season—like Santa and his sleigh, or you and your third cup of eggnog while wrapping presents. They just work.
But here’s the thing: doing a simple red manicure with a single gold glitter accent nail is cute, but we can do so much better. We’re about to take this classic combo from “nice” to “absolutely stunning.” I’ve been doing my own Christmas nails for years, and I’ve learned all the tricks to make this color scheme look expensive, festive, and seriously eye-catching.
So, if you’re ready to give your tips the holiday glam they deserve, you’ve come to the right place. Let’s get into it.
Why Red and Gold is a Match Made in Holiday Heaven
Seriously, what is it about this combo that just screams Christmas cheer? It’s not an accident.
Red brings the energy, the warmth, and that classic festive vibe. It’s the color of Santa’s suit, Rudolph’s nose, and those big, beautiful bows on presents. Gold, on the other hand, is all about the glamour and the glow. It’s the twinkle of fairy lights, the shine of a star on top of the tree, and the richness of a perfect, gilded ornament.
Together, they create a balance that is both joyful and luxurious. You get the warmth and the sparkle all in one. IMO, it’s the most effortlessly elegant holiday color scheme. It’s timeless for a reason, but that doesn’t mean it has to be boring.
Building Your Palette: It’s Not Just Any Red and Gold
Before we jump into the designs, let’s talk specifics. Not all reds and golds play nicely together, and the finish changes everything.
Here’s your cheat sheet for the perfect red and gold christmas nails:
- The Reds: You want a range! A classic cherry red cream is your base. But also consider a deep, vampy burgundy for a richer look, a bright candy apple red for maximum impact, and a jelly red for sheer, buildable color.
- The Golds: This is where the magic happens. Don’t just grab one gold polish. You need a bright, shiny gold for details, an antique or brushed gold for a vintage feel, a chrome gold for a mirror-like effect, and of course, gold glitter in every size from fine dust to chunky flakes.
- The Finishes: Mixing finishes is the pro-move. A matte top coat over red makes gold details pop unbelievably. A glossy top coat makes everything look wet and luxurious.
Trust me, having a few options of each will completely change your nail art game.
21 Stunning Red and Gold Christmas Nail Designs You’ll Love
Alright, this is what you came for. Get ready to screenshot, because these ideas are about to fill up your inspiration board.
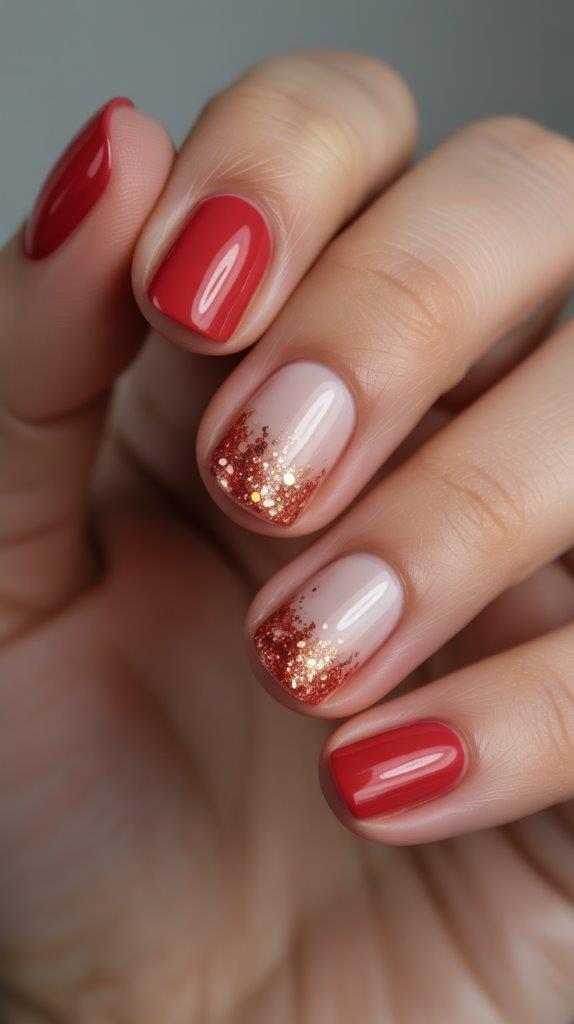
1. The Glitter Gradient

This is my go-to when I want something glamorous but easy. Paint all your nails a solid, creamy red. Then, using a makeup sponge, dab a dense gold glitter polish onto the tips, blending it about halfway down the nail. It gives you that gorgeous, sparkly ombre effect like you just dipped your fingers in starlight.
2. Gold Foil Accent

For a seriously luxe look, paint your nails a deep burgundy red. While the top coat is still tacky on one accent nail, press small pieces of real gold leaf or gold transfer foil onto it. It creates a beautiful, broken, metallic effect that looks incredibly expensive.
3. Classic French Tips with a Twist

The French manicure but make it festive. Instead of a white tip, do a perfect, sharp gold tip over a red base. You can use a thin brush or nail guides. It’s so chic and modern.
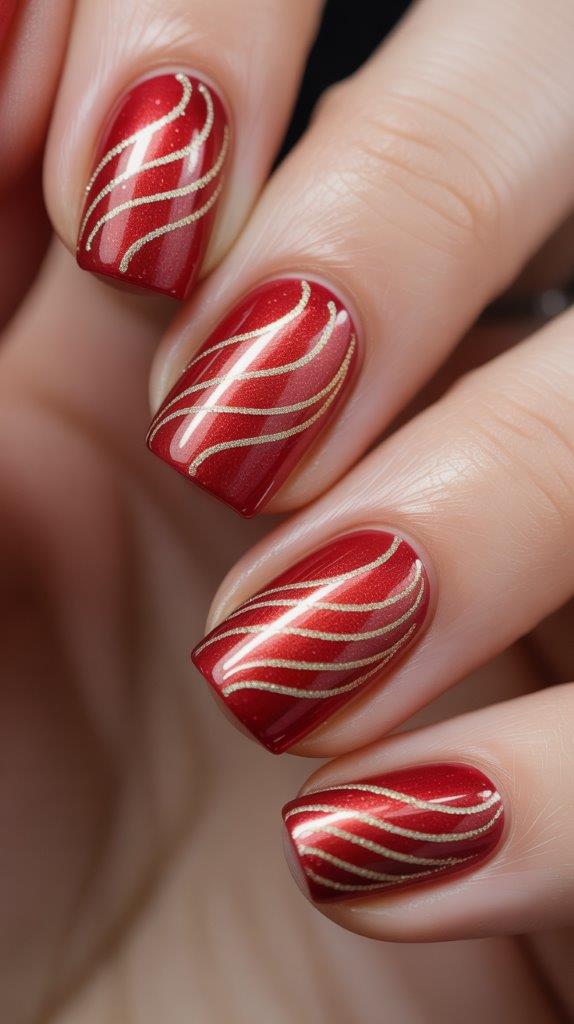
4. Ornamental
Paint your nails a shimmery red. Then, using a dotting tool or a thin brush, create simple, gold line art on each nail that looks like the designs on vintage Christmas ornaments. Think swirls, circles, and delicate patterns.
5. Plaid Perfection

Plaid is a Christmas staple. Start with a white or red base. Then, use a striping brush to create a classic plaid pattern using a creamy red and a metallic gold. It looks intricate, but with a little patience, it’s totally doable.
6. Starry Night

A deep, crimson red cream makes the perfect night sky. Then, use a tiny dotting tool to paint a random scattering of small and large gold stars on each nail. It’s whimsical, romantic, and so pretty.
7. Negative Space Halves

A super modern take. Paint the top half of your nail a bold red and the bottom half a shiny gold, leaving a clean, sharp line between them. You can use nail tape to get the line perfectly straight.
8. Gold Deer Silhouette
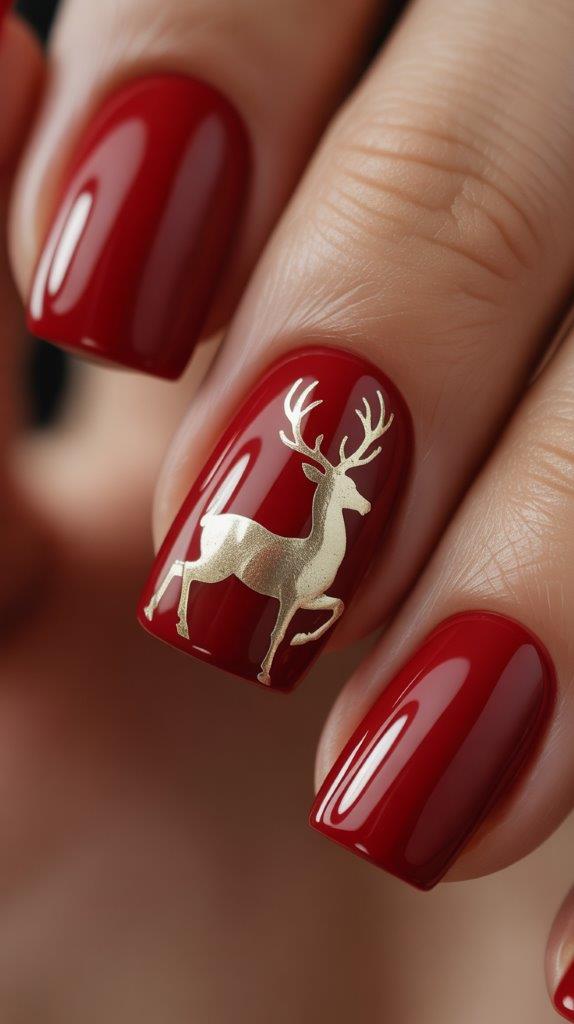
Paint your nails a glossy, classic red. On your ring finger, paint the elegant silhouette of a reindeer in antique gold. It’s a subtle nod to the season that feels very sophisticated.
9. Dripping with Gold

This one is so cool. Paint your nails a solid red. Then, using a nail art brush, draw glossy gold “drips” coming from the cuticle down. It looks like your nails are melting liquid gold.
10. Matte Red with Glossy Gold Lines

Paint your nails with a rich, matte red polish. Once it’s dry, use a thin brush and glossy gold polish to draw simple horizontal or diagonal lines across each nail. The contrast between the matte background and the shiny lines is chef’s kiss.
11. Gold Sparkle Cuticles
Also known as the “reverse glitter gradient.” Paint your nails red. Then, using a sponge, pack on the gold glitter at the cuticle area, fading it out about a quarter of the way down the nail. It’s a fresh, unexpected take on the glitter manicure.
12. Holly and Berries

A timeless festive design. Paint your nails a shimmery gold. Then, on an accent nail or two, paint a small sprig of holly. Use a green polish for the leaves and a red polish for the berries. Simple and effective.
13. Checkerboard

Nail art stickers or a steady hand can help you create a fun, graphic checkerboard pattern using red and gold squares. It’s playful and bold, perfect if you want to make a statement.
14. Marble Magic

This looks way harder than it is! Drop a blob of red and a blob of gold polish into a cup of water, swirl them slightly, and dip your nail in. The result is a unique, swirly, marble effect on every single nail. No two nails will be alike!
15. Glitter Stripes

Paint your nails red. Once dry, use striping tape to create two thin, parallel lines on the nail. Fill the space between the tape with gold glitter polish, then carefully remove the tape. You’ll be left with perfect, sparkly stripes.
16. Gold Quotation Tips

A subtle take on the French tip. Paint your nails red. Then, using a thin brush, paint a single, thin gold line right at the very tip of your nail. It’s a tiny detail that makes a huge impact.
17. Sparkling Snowflakes

A creamy red base is the perfect backdrop for intricate gold snowflakes. You can use a stamping plate, a nail sticker, or a very fine brush to paint them on. It’s the ultimate winter wedding or Christmas party look.
18. Red and Gold Glitter Coffin

Sometimes, the shape does all the talking. A long, sharp coffin nail shape painted in a solid, opaque gold glitter is a statement all on its own. It’s edgy and festive at the same time.
19. Dot Matrix
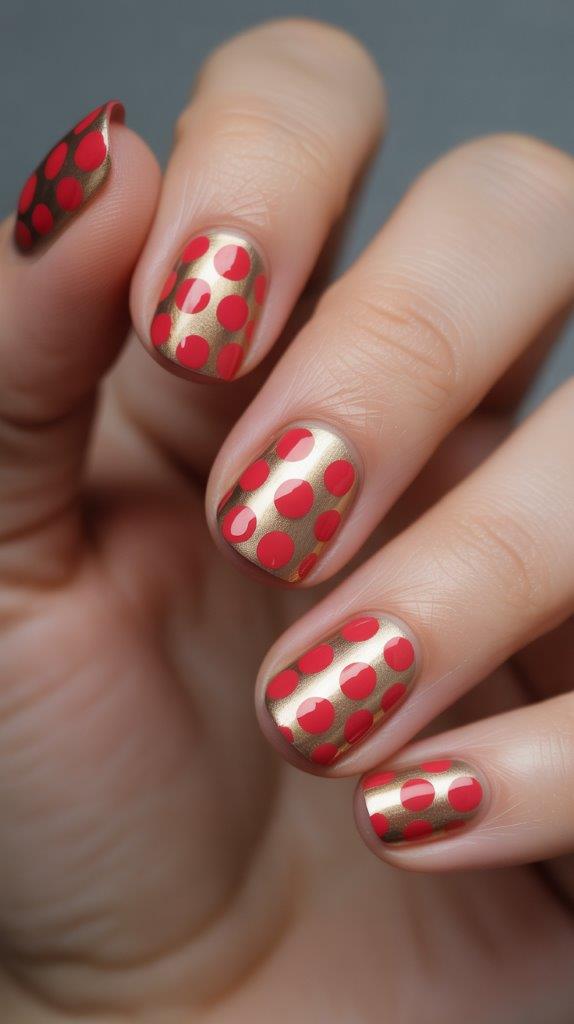
Using a dotting tool, create a fun pattern of dots. Think polka dots, or get creative and make a pattern where large gold dots are surrounded by smaller red dots. It’s easy, cute, and very on-trend.
20. Metallic Ribbons

Paint your nails a glossy, true red. Then, use a brush to paint a curling, ribbon-like stripe of gold across each nail, as if a gift-wrapping ribbon is draped over your fingertips.
21. The Full Sparkle
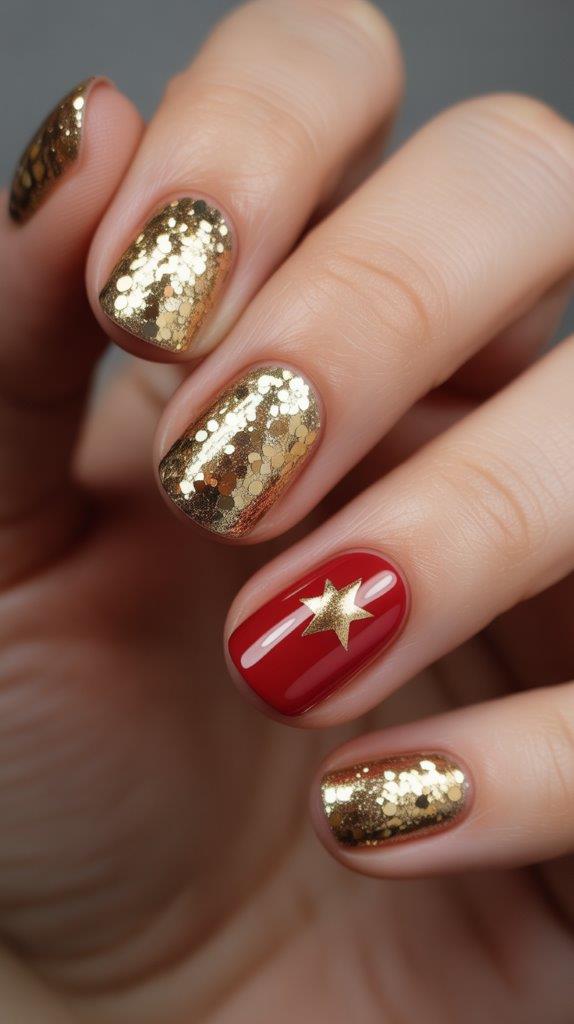
Why choose? For maximum holiday spirit, go for a solid gold glitter on every nail. Then, add a single, bold red accent nail with a gold detail. It’s unapologetically festive and you will not be missed in a crowd 🙂
How to Make Your Festive Manicure Last Through the Party
You’ve spent time creating a masterpiece—let’s make sure it survives the eggnog toast. From one nail art enthusiast to another, here’s what actually works:
- Start Clean: Always wipe your naked nails with acetone right before you polish. This removes any oils and helps the base coat stick like glue.
- Don’t Skip the Base Coat: I know it’s tempting to jump right to the color, but a good base coat prevents staining and is the foundation for a long-lasting mani.
- Wrap the Tips: When you apply your color and top coat, make sure you swipe the brush along the very edge of your nail. This “seals” the polish and is the #1 trick to prevent chipping.
- The Top Coat is Your Best Friend: A high-quality, quick-dry top coat is non-negotiable. It locks in your design, adds amazing shine, and makes everything last days longer. I add a fresh layer every two days.
- Wear Gloves for Chores: FYI, hot water and soap are the arch-nemeses of a perfect manicure. Protect your art while washing dishes!
Your Holiday Glam Awaits
So, which design has you ready to break out the polish? Are you leaning towards the elegant simplicity of the Gold Deer Silhouette or the full-on glam of The Full Sparkle? Maybe you’ll mix and match a few for your own custom look.
The beauty of red and gold Christmas nails is their versatility. They can be subtle and chic or loud and proud. Whatever you choose, you’re embracing the most iconic and joyful colors of the season. Now go forth and have the most glamorous, sparkly holiday. Your fingertips are about to become the main attraction
Leave a Reply
You must be logged in to post a comment.