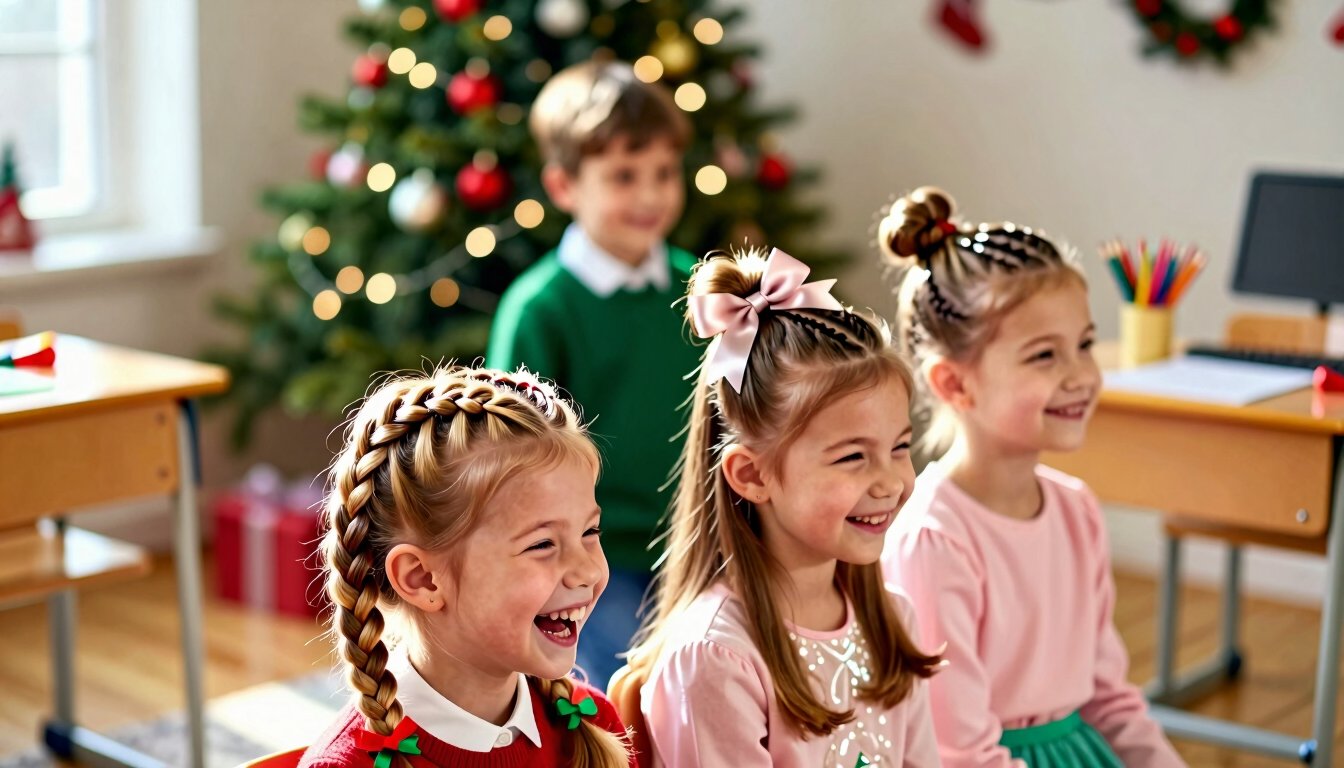
Let’s be honest—mornings with kids are pure chaos. Between finding matching socks, packing lunches, and convincing a tiny human that yes, they do need to wear pants, who has time for complicated hairstyles? But here’s the thing: you don’t need hours or professional training to create something adorable. I’ve gathered 29 easy and cute children hairstyles that work for school days, birthday parties, and even Christmas morning photos. No tears, no tantrums, just seriously cute hair in minutes. Ready to save your sanity?
1. The Classic High Ponytail with a Twist

Sometimes simple wins everything. A high ponytail never fails, but let’s make it just a little more special. Instead of a regular elastic, wrap a small section of hair around the base to hide the tie completely. Secret trick: pull out two tiny strands at the front temples for a softer look—this works wonders for round faces. My daughter calls this her “gymnast ponytail” because it stays put through cartwheels and handstands.
Need it for a party? Add a velvet ribbon tied around the elastic. For Christmas, swap in a red or green scrunchie. School? Keep it plain and let the neatness speak for itself. Three seconds of extra effort, ten times the cuteness.
2. Messy Side Braid for Lazy Mornings
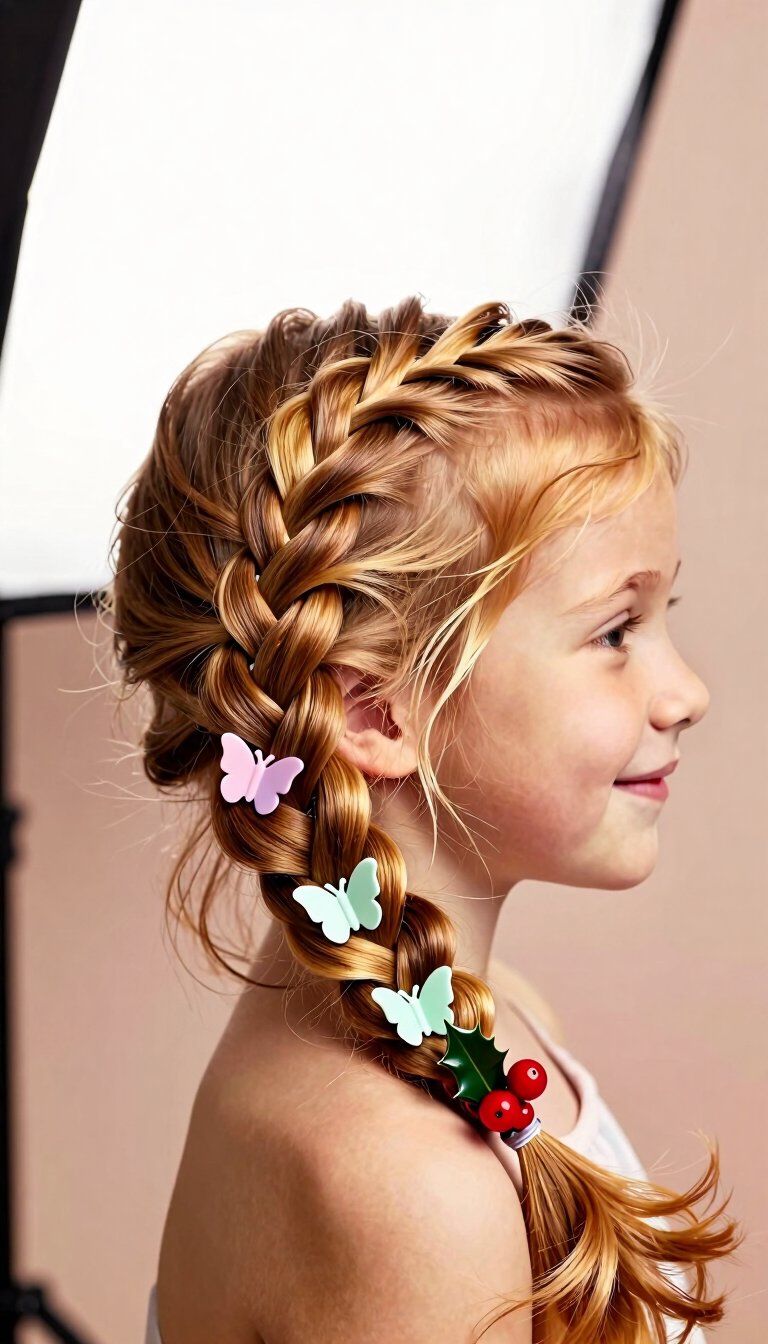
This one looks intentional even when you’re running late—and yes, that’s the whole point. Brush your child’s hair to one side, braid loosely, and secure with a small elastic. The messier, the better. Pro tip: braid slightly damp hair for braids that don’t unravel by lunchtime. My niece hates having her hair brushed, but she sits perfectly still for this because it takes less than two minutes.
This works for all hair lengths past the chin. Add mini butterfly clips for a party vibe, or tuck in a sprig of fake holly for Christmas. School-approved, party-ready, and parent-approved for speed.
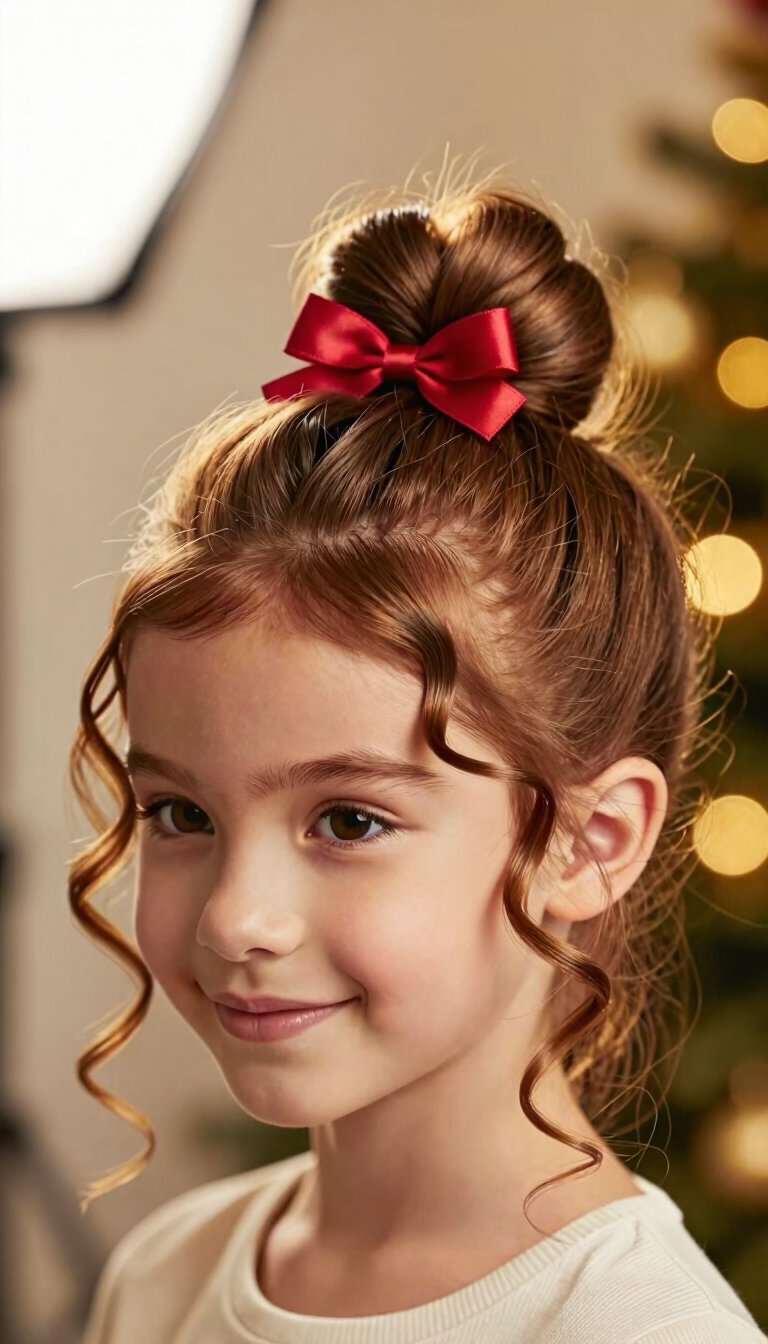
3. Half-Up Space Buns

Space buns took over the internet for a reason—they’re ridiculously cute and surprisingly easy. Take the top half of your child’s hair, split it into two sections, twist each into a tiny bun, and secure with small elastics. Key detail: position them slightly forward on the head for that adorable “baby alien” look. My daughter wore these for her school photos and got compliments for weeks.
For Christmas, add mini gold star clips around each bun. For parties, use glitter spray. For school, keep it simple with plain black elastics. This style works best on shoulder-length or longer hair, but I’ve seen cute versions on shorter cuts too. Age range? Toddlers to tweens—all of them look adorable.
4. The Low Messy Bun with a Headband

Low buns often look too mature for little faces, but add a colorful headband and suddenly it’s perfect. Gather hair into a low ponytail, twist it into a loose bun, and pull gently to soften the look. Game-changer: use a thick, padded headband to keep flyaways in check while adding color. My preschooler calls this her “ballet bun” even though she’s never taken a dance class.
For school, choose a headband in their favorite color. For parties, go with glitter or floral. Christmas version? A red velvet headband with a tiny bow on top transforms this into a holiday masterpiece. Takes three minutes, lasts all day.
5. Double Dutch Braids (The No-Tears Version)

Traditional Dutch braids often cause tangles and tears, but this version skips the pain. Instead of braiding tight, keep your sections large and your tension loose. Life-saving tip: spray detangler before you start—it reduces pulling by about 80%. I learned this after my first attempt ended with my daughter hiding under the bed. True story.
These braids keep hair out of faces during school hours, look adorable for parties when you add ribbon ties, and work perfectly for Christmas with green and red elastics spaced down each braid. For shorter hair, stop the braid at the nape of the neck and let the rest hang loose. No tears, all cute.
6. The Bubble Ponytail

This trend looks like it belongs in a salon, but you can do it in under five minutes—I promise. Start with a high ponytail, then add elastic bands every two inches down the length. Gently tug each section outward to create “bubbles.” Magic trick: use small, clear elastics for a seamless look. My daughter’s first-grade teacher asked if we got it done professionally—nope, just me and three elastics at 7 AM.
For school, use matching elastics in her favorite color. For parties, alternate with bright neons. For Christmas, use red and green elastics in alternating bubbles. This works best on straight or slightly wavy hair, but I’ve seen it look incredible on curly textures too with a bit of gel.
7. Tiny Space Buns with Braided Wraps

Take the half-up space buns from earlier and level them up. Instead of twisting the buns directly, braid each section first, then wrap the braid into a bun. Why this works: the braid adds texture and keeps the bun secure all day. My niece wore these to a birthday party and refused to take them out for bed—she wanted to “keep the cuteness.”
These are perfect for parties because they look detailed without taking more than eight minutes. For Christmas, add tiny jingle bells to the center of each bun. For school, skip the bells and use plain elastics. The braided wrap prevents the buns from looking messy by recess time.
8. The French Braid Crown (Beginner Version)
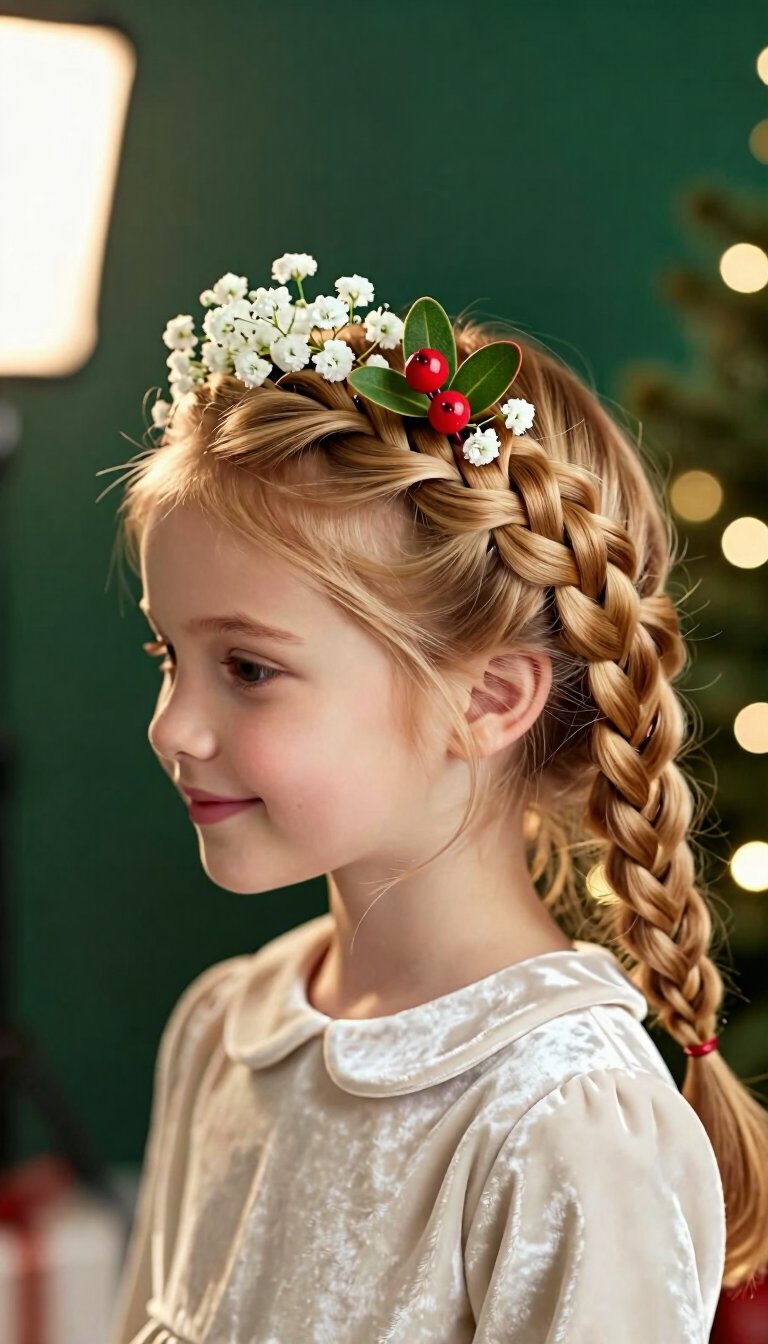
Don’t let the name intimidate you—this isn’t the complicated crown braid you see on Pinterest. Simplified version: French braid one side of the head from the temple toward the back, then do the same on the other side. Cross the braids at the back and pin them in place. That’s it. No weaving across the whole head.
This looks absolutely stunning for school performances, holiday parties, and Christmas morning photos. For parties, tuck small flowers into the braids. For Christmas, use a tiny sprig of fake mistletoe. The key is to keep the braids loose so they look soft and romantic, not tight and helmet-like. My daughter calls this her “princess braid” and requests it for every dress-up occasion.
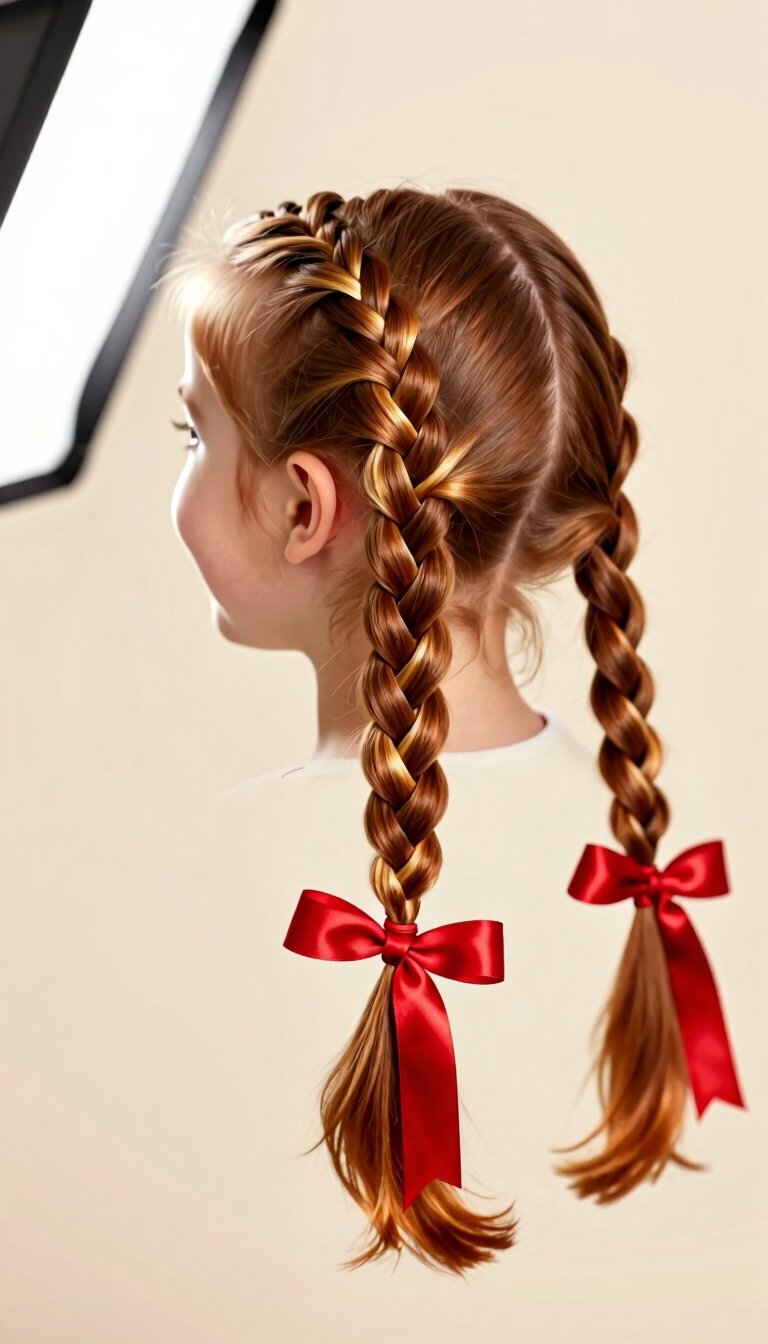
9. High Pigtails with Ribbon Ties

Pigtails never go out of style, but ribbon ties make them feel fresh and intentional. Part the hair down the center, create two high ponytails, and tie each with a small ribbon instead of an elastic. Important detail: use grosgrain ribbon—it stays tied better than satin. I learned this after retying satin ribbons four times in one morning.
For school, use ribbon in their school colors. For parties, choose sparkly or metallic ribbon. Christmas version? Red and green polka dot ribbon instantly makes this festive. The ribbons add movement and charm that plain elastics just can’t match. Plus, kids love seeing the ribbons bounce when they run.
10. The Twisted Half-Up Crown

This style creates the illusion of a braided crown without any braiding at all. Take two sections of hair from each temple, twist them away from the face, and pin them at the back of the head. Secret weapon: bobby pins that match your child’s hair color—they disappear completely. My daughter’s friend asked if we had a “hair fairy” visit our house.
This works beautifully for medium to long hair and keeps hair out of the face during school. For parties, add tiny pearl pins along the twisted sections. For Christmas, use red glitter bobby pins. The twisted sections frame the face beautifully and take less than two minutes. I’ve done this in the carpool line—no mirrors needed.
11. The Wrap-Around Low Ponytail

Low ponytails can look boring, but this version adds instant elegance. Gather hair into a low ponytail, but before securing it, wrap the hair around itself once or twice. Visual trick: this creates a twisted effect that looks like a braid from the front. It takes exactly 30 seconds longer than a regular ponytail.
For school, this keeps hair neat and professional-looking. For parties, add a silk flower at the base. For Christmas, tuck a tiny ornament-shaped clip near the elastic. The wrap-around technique works on all hair types and lengths. My daughter wears this to her piano lessons and always gets compliments from her teacher.
12. Mini Braids with Beads (Toddler-Approved)

Toddlers love beads, and this style combines fun with function. Create two to four mini braids in the front sections of hair, and slide a few beads onto each braid before securing. Safety note: use bead caps or tightly secured beads to prevent choking hazards. My toddler calls these her “jumpy braids” because the beads click together when she bounces.
This works for school because the braids keep front hair out of eyes. For parties, choose colorful plastic beads. Christmas version use red and green beads, or little snowflake charms. The beads add sensory fun and make toddlers excited about hair time—a win for everyone.
13. The Sleek Low Bun with a Middle Part

Sometimes you need something polished. This style screams “I have my life together” even when you don’t. Create a sharp middle part, gather hair into a low ponytail, and twist into a tight bun. Essential step: use a strong-hold gel on the hairline to keep baby hairs smooth. I use a tiny bit of hair wax—it works better than gel and doesn’t flake.
This is perfect for school performances, recitals, and any event where you want your child to look extra put-together. For Christmas, add a velvet ribbon wrapped around the bun base. For parties, use a sparkly hair pin. The sleek look contrasts beautifully with sparkly dresses or holiday outfits.
14. The Scarf Ponytail

This style uses a small square scarf to add color and personality to a simple ponytail. Create a high ponytail, then tie a small scarf around the elastic base and let the ends hang down. Style hack: fold the scarf into a thin strip before tying—it looks more deliberate. My daughter has four “ponytail scarves” that she rotates based on her outfit.
For school, use a scarf in their favorite color. For parties, choose silk or satin for a dressier look. Christmas version? A red and green plaid scarf instantly adds holiday cheer. The scarf ends blow in the wind and create movement that kids love. Plus, it covers any imperfect elastic work—winning.
15. The Five-Minute Fishtail Braid

Fishtail braids look complicated but are actually easier than regular braids—no three-section coordination required. Divide hair into two sections, then take a small piece from the outside of one section and cross it to the inside of the other. Repeat until done. Beginner tip: use thinner pieces for a more defined fishtail look. My first fishtail took twenty minutes; now I can do it in the dark.
This works for school when you want something special but don’t have time. For parties, pull the braid gently to widen it for a bohemian vibe. Christmas version? Weave a thin red ribbon through the braid as you go. The fishtail pattern looks intricate, but your child won’t sit still long enough to notice any mistakes.
16. Pigtail Buns (Also Known as “Mickey Mouse Buns”)

These are exactly what they sound like—two high buns on top of the head. Part the hair down the center, create two high ponytails, and twist each into a tight bun. Perfect placement: position the buns directly above the ears for the classic Mickey Mouse silhouette. My preschooler insists these make her “look like a cartoon character” and she’s not wrong.
These are fantastic for school because they keep all hair contained and away from faces. For parties, add bows to each bun. For Christmas, use red bows or tiny Santa hat clips. The round shape is inherently playful and works for all ages. My tween niece wore these to a school spirit day and started a trend among her friends.
17. The Side-Swept Braid with a Bow

This style looks like it belongs in a fairy tale, but it’s ridiculously simple. Sweep all hair to one side, create a regular three-strand braid, and secure at the bottom. Add a large bow at the base of the braid. Styling secret: pull the braid slightly apart after securing to make it look fuller. My daughter wore this for her school talent show and felt like a superstar.
The bow does all the heavy lifting here. For school, use a simple grosgrain bow. For parties, go with a large satin bow or a bow with lace edges. Christmas version? A red velvet bow with gold edges transforms this into a holiday look. The side-swept braid works for all hair lengths past the chin and takes under five minutes.
18. Triple Mini Pigtails (For Short Hair)

Short hair often gets left out of the cute hairstyle conversation, but not today. Part the front section of hair into three small sections, and create three tiny pigtails along the hairline. Why this works: it adds visual interest to shorter cuts that can’t handle longer styles. My niece has a bob and this is her go-to school hairstyle.
The pigtails sit along the forehead area, almost like mini fountain spouts. For school, use colorful elastics. For parties, add small charms to each elastic. Christmas version? Use red, green, and gold elastics in a row. This style takes about two minutes and makes short hair feel special.
19. The Knotted Crown

No braiding required for this one—just knots. Take two small sections of hair from the front, tie them together in a simple overhand knot at the back of the head. Repeat with sections below until you reach the nape. Pro tip: use a mirror so you can see what you’re doing—I learned this after creating a tangled mess the first time.
The knotted crown looks like a braided style but takes half the time. For school, this keeps hair back without elastics pulling. For parties, add small flowers near each knot. Christmas version? Tuck tiny pine sprigs into the knots. The knots create a textured, boho look that works for any occasion.
20. The Quick French Braid Pigtails
French braiding pigtails takes practice, but this shortcut version skips the complicated parts. Part the hair down the center, create two pigtails, and French braid only the top section of each pigtail before continuing as a regular braid. Time-saver: you only need to do three crossovers on each side before switching to regular braiding. My daughter can now braid her own pigtails using this method—she’s seven.
These look polished for school and fancy for parties. For Christmas, weave thin red ribbon through both braids. The French braid top section keeps hair secure while the regular braid finish saves time. Perfect for busy mornings when you want something special without the commitment.
21. The High Bun with Braided Wrap

Take a regular high bun and elevate it with a braided wrap. Create a high ponytail, but before forming the bun, braid a small section of hair. Form the bun, then wrap the braid around the bun’s base. Visual impact: the braid creates a textured ring around the bun that looks incredibly intentional. My daughter’s dance teacher asked where we got the hair accessory—it wasn’t an accessory, it was her own hair.
This works beautifully for school recitals and holiday parties. For Christmas, add a tiny red bow at the base of the bun. For regular school days, skip the bow and let the braid speak for itself. The wrap adds volume and interest to an otherwise simple style.
22. Baby Braids with Butterfly Clips

This style is specifically designed for toddlers and preschoolers with fine hair. Create four to six tiny braids along the front hairline, then secure each with a small elastic and add a butterfly clip below the braid. Why toddlers love it: the clips feel like toys, not hair accessories. My toddler calls these her “bug braids” and requests them constantly.
For school, choose clips in pastel colors. For parties, use glitter butterflies. Christmas version? Use red and green clips with tiny holly designs. The braids keep stray hairs contained while the clips add personality. This style takes about five minutes and makes fine hair look fuller.
23. The Low Ponytail with a Side Braid Accent

Gather hair into a low ponytail, but before securing it, braid a small section from the front and let it hang loose. Then create the ponytail, incorporating the braid. Detail that matters: the braid adds texture and visual interest without adding bulk. I discovered this style when I had a braid leftover from a failed attempt—accidental brilliance.
For school, this keeps hair off the face while looking intentional. For parties, add a small charm to the end of the accent braid. Christmas version? Use red elastic at the end of the accent braid. The side braid adds a touch of bohemian elegance that works for any occasion.
24. The Twisted Halo (No Pins Required)

This style uses two twists that wrap around the head like a halo, but without the pins that usually fall out. Divide hair into two sections from ear to ear. Twist each section away from the face, then wrap them around the head and tuck the ends under. Genius trick: use a tiny elastic to secure each end instead of bobby pins—stays in place all day. My daughter jumped on the trampoline with this style and it survived.
This works beautifully for school because it keeps every strand contained. For parties, add small flowers along the twisted sections. Christmas version? Tuck tiny pine needles into the twists for a forest fairy look. The twisted halo looks complicated but takes under five minutes.
25. The Sock Bun (Yes, an Actual Sock)

Cut the toe off a clean sock, roll it into a donut shape, and use it to create a perfect, voluminous bun. Pull hair into a high ponytail, thread it through the sock donut, and roll the sock down to the base, spreading hair evenly around it. Life-changing discovery: use a sock that matches your child’s hair color—it disappears completely. I keep a “bun sock” in my car, my purse, and my bathroom. No shame.
This creates a perfectly round, voluminous bun that looks professional. For school, use a sock in a neutral color. For parties, use a brightly colored sock that shows through. Christmas version? Use a red sock and let a tiny bit peek through for a festive accent. Takes three minutes, looks like you spent twenty.
26. The Waterfall Braid (Beginner Version)

Traditional waterfall braids require coordination, but this simplified version gets the same effect. French braid across the top of the head, but every time you cross a section, drop the bottom strand and pick up a new one from below. Simplification: only do this for the front section, then finish as a regular braid behind the ear. My daughter calls this her “mermaid braid” and I don’t correct her.
The result looks like hair is cascading down the side of the head. For school, this works beautifully for medium to long hair. For parties, add pearl pins along the braid. Christmas version? Weave silver thread through the dropped strands for a sparkly effect. The waterfall effect adds movement and romance.
27. Double Bun with Braided Bangs

Create two high buns, but before forming them, French braid the front sections of hair on each side. The braids feed into the buns, creating a seamless transition. Key tip: keep the braids loose so they don’t pull at the hairline. My daughter has thick hair and this style keeps it completely managed for the entire school day.
The braided bangs add sophistication to the playful bun style. For school, use clear elastics. For parties, add colorful thread woven through the braids. Christmas version? Braid red and green ribbon into the front sections. The double bun silhouette reads as youthful while the braided bangs add detail.
28. The Quick Top Knot with Face-Framing Strands
Think of this as the messy bun’s sophisticated cousin. Gather hair into a high ponytail, twist it into a loose top knot, and deliberately pull out two thin strands at the front. Styling secret: curl the face-framing strands with a small curling iron for a soft, intentional look. My daughter calls these her “grown-up strands” and feels very mature.
This works for school because the top knot keeps bulk off the neck. For parties, add texture spray for a tousled look. Christmas version? Add a tiny bow to the base of the top knot. The face-framing strands soften the look and add a touch of elegance. Takes two minutes, looks like you tried.
29. The Christmas Crown (Special Holiday Style)

This one deserves a special spot just for the holidays. Create a low braided crown (or use any braid style from above), then weave a thin string of small Christmas lights through the braid. Safety note: use battery-operated LED fairy lights on a thin wire—they’re cool to the touch and safe for kids. My daughter wore this for Christmas Eve and looked absolutely magical.
For the crown, you can use any braid style your child tolerates. Weave the lights through the braid, tucking the battery pack into a small pouch pinned to the back of the head. For school holiday parties, this steals the show. For Christmas morning photos, it creates instant memories. The lights twinkle as your child moves, and they will absolutely refuse to take it off. Warning: prepare for your child wanting to wear this to bed. I speak from experience.
What’s Your Child’s Next Hairstyle?
And there you have it—29 easy and cute children hairstyles that cover school chaos, weekend parties, and Christmas magic. Some take two minutes, others take ten, but none of them require a hairstyling degree or a PhD in patience. The best part? Most of these styles adapt to different occasions with just a small accessory swap. Your child gets to feel special, and you get to keep your morning sanity. So grab that brush, pick a style from this list, and make tomorrow morning a little easier. You’ll both feel good about it.
Leave a Reply
You must be logged in to post a comment.