Alright, let’s be real for a second. You want those adorable, Instagram-worthy Easter nails, but the thought of sitting for a three-hour salon session (or battling a shaky hand with a tiny brush at home) feels like a lot. Been there, cried over a smudged bunny face there.
What if I told you you could have a totally festive, spring-ready manicure without needing an art degree or a magic steady hand? That’s the whole point of this list. I’ve gathered—and personally tested—19 genuinely easy Easter nail designs that rely on clever tricks, simple tools, and a “good enough is perfect” mindset. Let’s get your fingertips ready for the season, the low-stress way.
Your Easy Easter Nail Philosophy: Keep It Simple, Friend
Before we jump into the designs, let’s set some ground rules. The goal here is festive, not frustrating.
- Embrace Your Accent Nail: You do NOT need to recreate a masterpiece on every single finger. One or two decorated nails per hand makes a huge statement and cuts your work down by 80%.
- Tools Are Your Bestie: Dotting tools, nail art tape, and makeup sponges aren’t just for pros. They’re cheat codes. A simple dotting tool can make polka dots, flowers, and bunny tails in seconds.
- Pastels Are Forgiving: Light, bright spring colors are trendy and they hide minor imperfections way better than a dark, solid crimson. It’s a win-win.
Ready? Let’s count down these easy-peasy designs.
1. The Speckled Egg
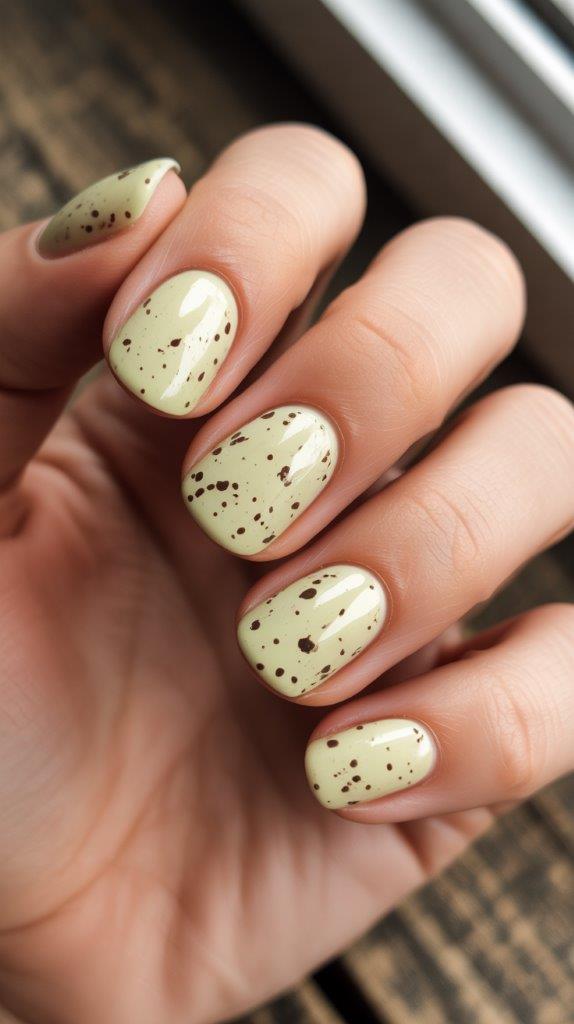
This is my ultimate go-to. It looks intricate but is arguably the easiest design on this list.
How to do it: Paint your nails a solid pastel color (mint, lilac, or pale pink are perfect). Let it dry completely. Then, take an old toothbrush, dip the bristles in a contrasting polish (I use a brown or dark pink), and gently run your thumb over them to create a fine spray of speckles over your nail. Top with a glossy top coat. Boom—instant Easter egg.
2. Polka Dot Party
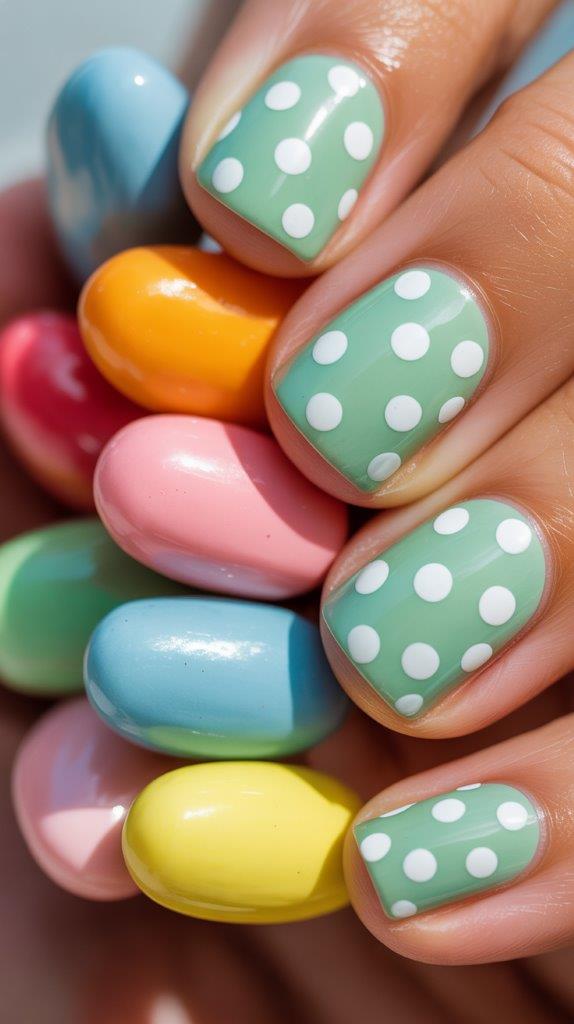
You can never, ever go wrong with polka dots. They’re joyful and foolproof.
Grab a dotting tool or the rounded end of a bobby pin. After your base color dries, simply dip your tool and press dots onto your nail. For an Easter vibe, try white dots on a pastel base or mix pastel dots on a white base. Space them out evenly or cluster them for a fun, random look.
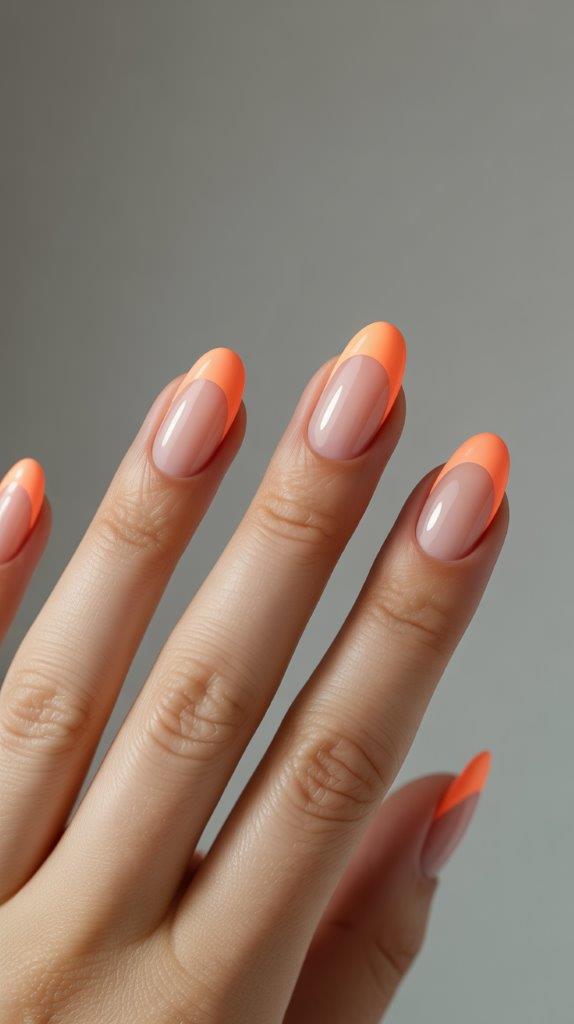
3. Pastel French Tips
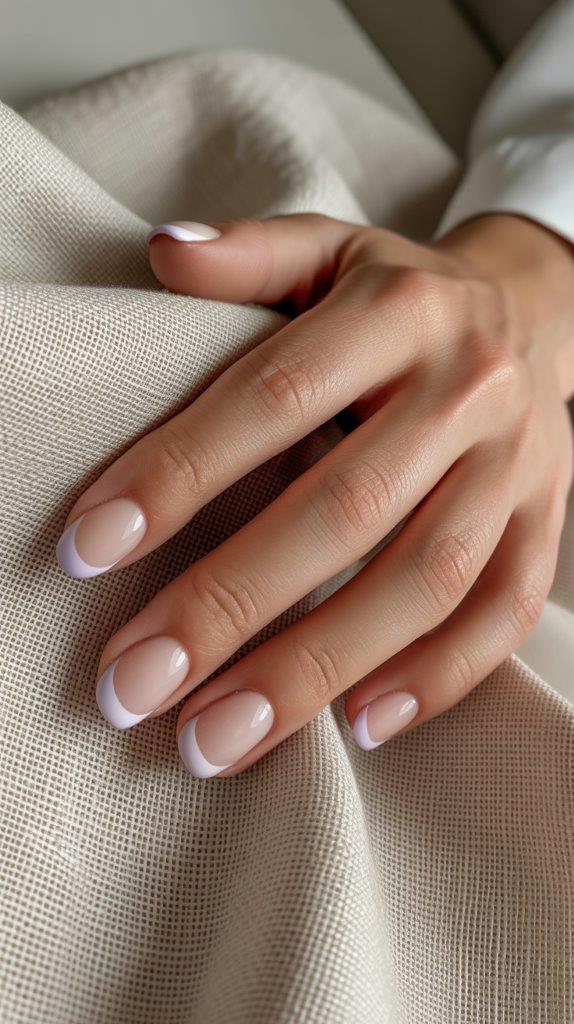
A classic French manicure gets a spring makeover. Instead of white tips, use a pastel!
Paint the very tips of your nails with lavender, sky blue, or mint green. If a straight line feels intimidating, use nail guides or tape. This design is clean, elegant, and screams “I have my life together” (even if you don’t).
4. Simple Sideways Bunny

Drawing a full bunny face is hard. Drawing a simple bunny silhouette sideways is not.
On a solid-color nail, use a thin brush or a nail art pen to draw a simple sideways bunny profile. Think: one curve for the head/back, a little bump for the nose, and a straight line for the ear. It’s abstract, cute, and way less pressure than a front-facing portrait.
5. Two-Tone Color Block
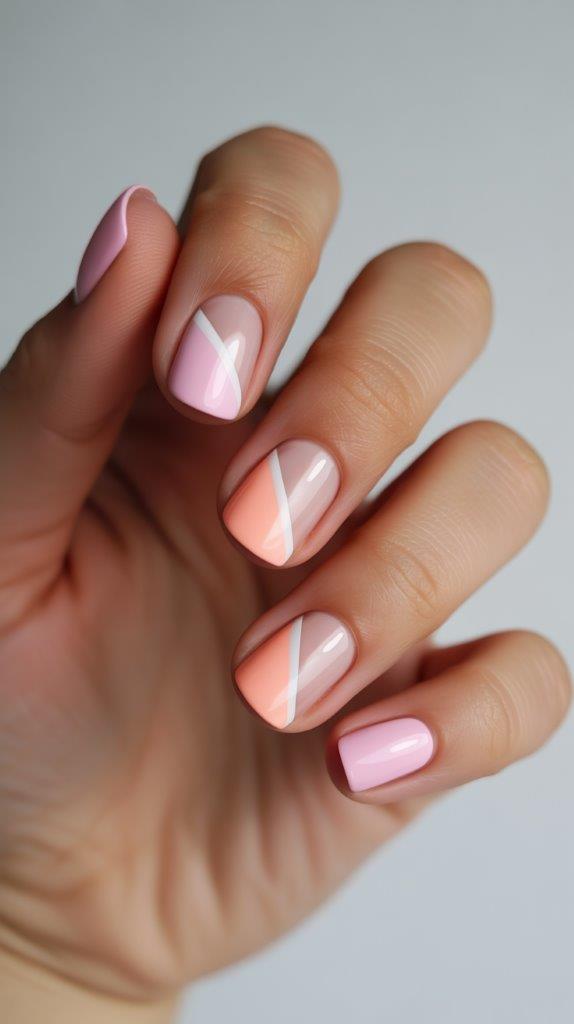
Geometric and modern, this is just about painting sections of your nail.
Use two strips of nail art tape to block off a section of your nail—try a diagonal half or a vertical third. Paint that section a different pastel color, peel off the tape while wet, and you have a crisp, graphic line. No freehand skills required.
6. Glitter Gradient

A little sparkle screams celebration. A full glitter nail can be gritty and hard to remove. The solution? A gradient.
Using a makeup sponge, dab glitter polish just at the tips of your nails, fading it down. It gives you that festive sparkle without the commitment or the removal nightmare. IMO, it’s the best way to wear glitter.
7. Easy Florals with a Dotting Tool
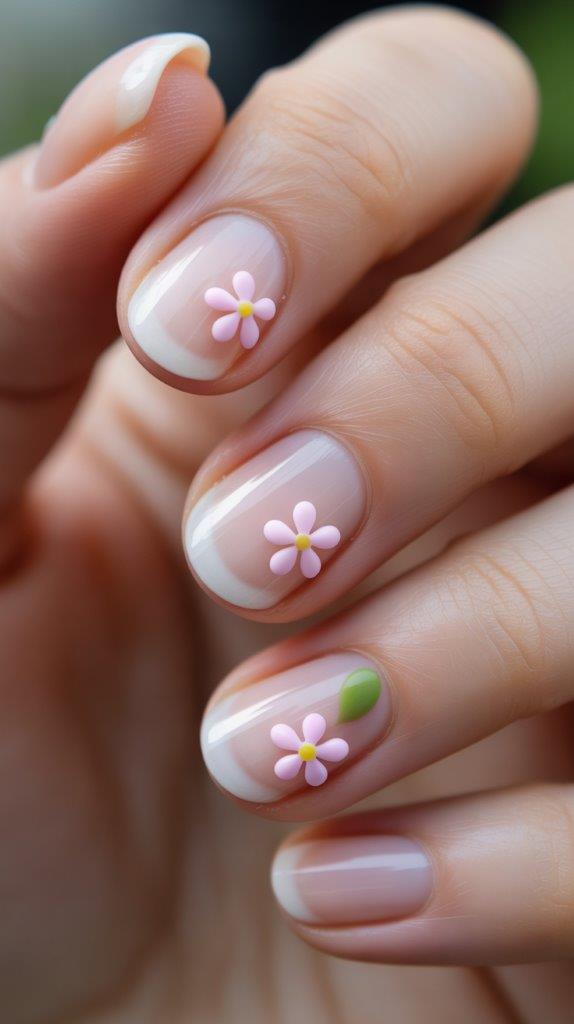
Tiny flowers are easier than you think. They’re just dots!
With a dotting tool, create a cluster of five dots in a circle (this is your flower). Use a contrasting color to make a single dot in the center. Add a tiny green dot on the side for a leaf. See? You’re a botanist now.
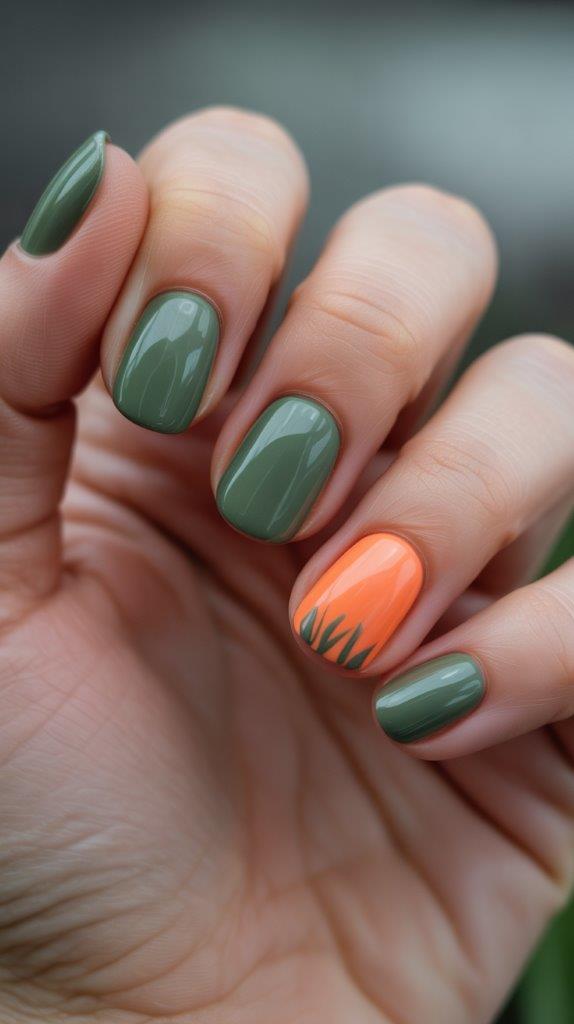
8. Carrot Accent Nail
Focus your energy on one nail. Paint an accent nail a bright orange. Then, using a thin brush or a green nail art pen, draw a few quick, messy “V” shapes at the cuticle to be the green fronds. It’s recognizably a carrot, and the messy greens just look artistic.
9. Negative Space Half-Moons
This looks super chic but requires minimal polish. All you’re doing is not painting a part of your nail.
Use hole reinforcement stickers (from an office supply store!) placed at your cuticle line. Paint the rest of your nail with a pastel polish, then peel the sticker off while the polish is still wet. You’ll have a perfect, natural nail half-moon.
10. Marble Nail with a Baggie
The water marble technique is famously tricky. This baggie method is its easy cousin.
Paint random blobs of 2-3 pastel polishes on a zip-top plastic baggie. Swirl them slightly with a toothpick. Let it dry completely into a film. Peel it up, cut out small pieces to fit your nails, and stick them on with a clear top coat. Unique marble effects, zero mess.
11. Gilded Line
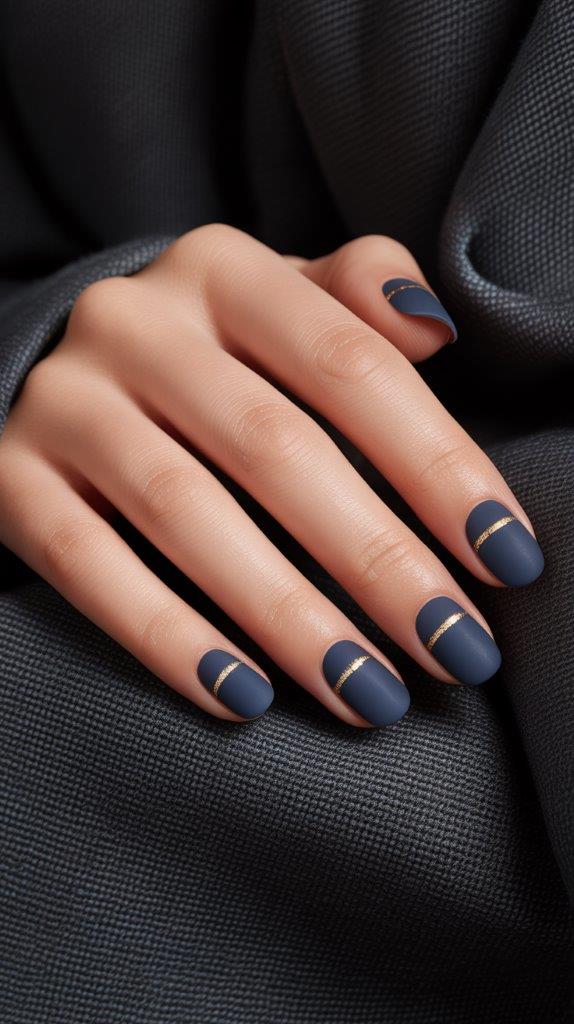
A single, thin, metallic line can elevate everything.
After your base color dries, use a strip of nail art tape as a guide. Paint a thin line of gold or silver metallic polish next to the tape. Remove the tape for a straight, shiny stripe. It’s minimalist and gorgeous.
12. “Bunny Tail” Textures
This is more about feel than intricate art.
Paint one accent nail a soft pink. Before the top coat dries, gently press a tiny ball of white flocking powder (or even a sprinkle of white craft glitter) onto the center. You get a soft, fuzzy bunny tail texture. It’s a fun conversation starter.
13. Checkerboard Stamping
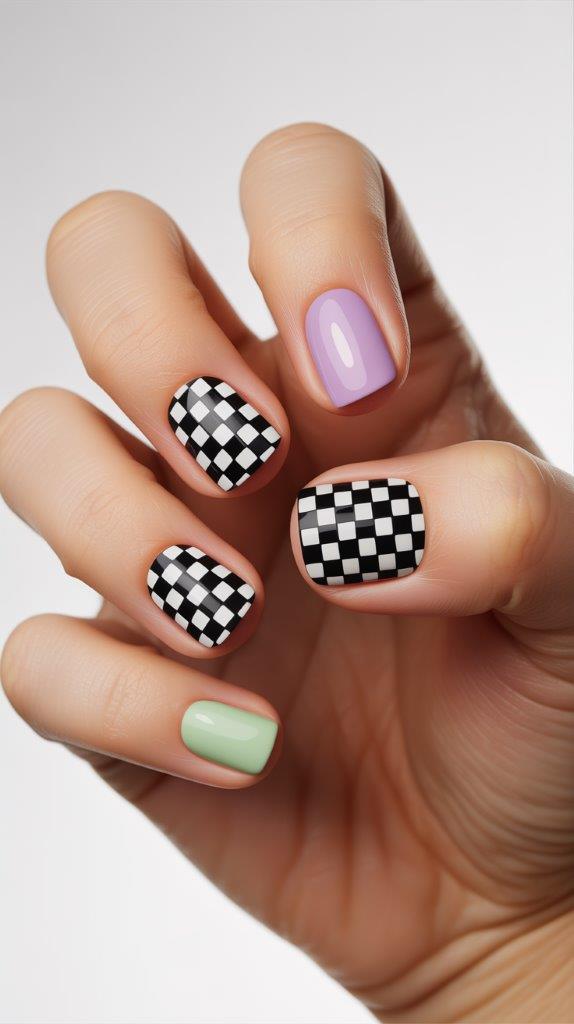
Freehanding a checkerboard is a nightmare. Stamping is a dream.
Invest in one checkerboard nail art stamping plate and a silicone stamper. You paint the design onto the plate, pick it up with the stamper, and press it onto your nail. It transfers a perfect, tiny checkerboard in seconds. This is the one “tool” I think is worth it for pattern-haters.
14. Dipped Pastel Tips
Messy can be a style! This is the opposite of the crisp French tip.
Paint your nails a nude or white. Then, before it dries, quickly dip just the very tips into a loose pastel eyeshadow or pigment. It creates a soft, diffused, ethereal color tip. Unconventional, but stunningly easy.
15. Confetti Fun
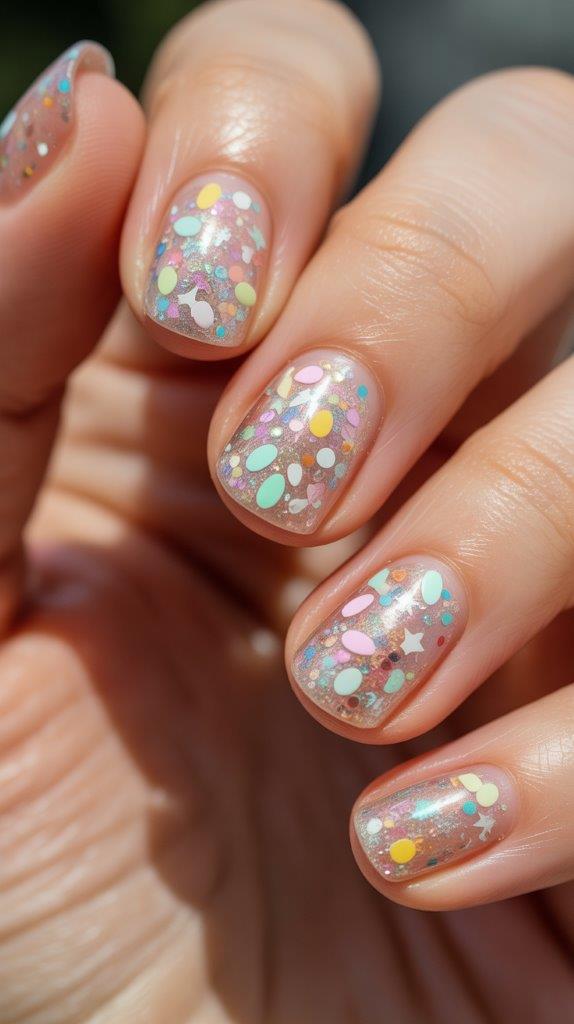
Some brands sell clear polish with tiny pastel glitter and confetti pieces. This is the ultimate one-step wonder.
Paint on two coats of a confetti topper over a white or clear base. You get instant party nails with eggs, bunnies, and stars embedded right in the polish. It does all the work for you.
16. Sunshine & Clouds
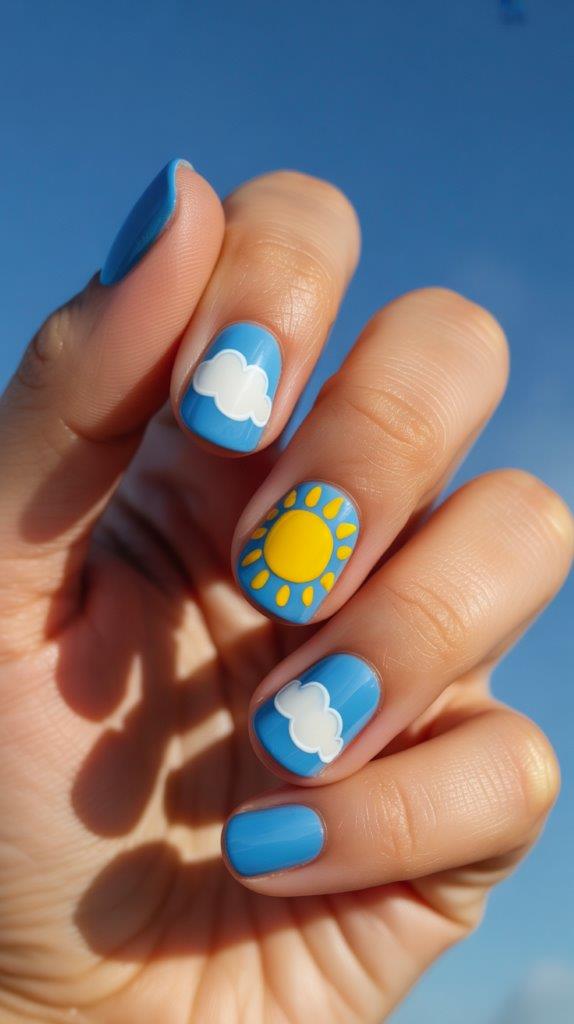
Feeling cheerful? This one’s for you.
Paint your nails a sky blue. Use a white nail art pen or a small brush to draw a puffy cloud on one nail. On another, draw a simple sun (a yellow circle with lines radiating out). It’s literally just basic shapes, and it’s so happy.
17. Animal Print Pastels
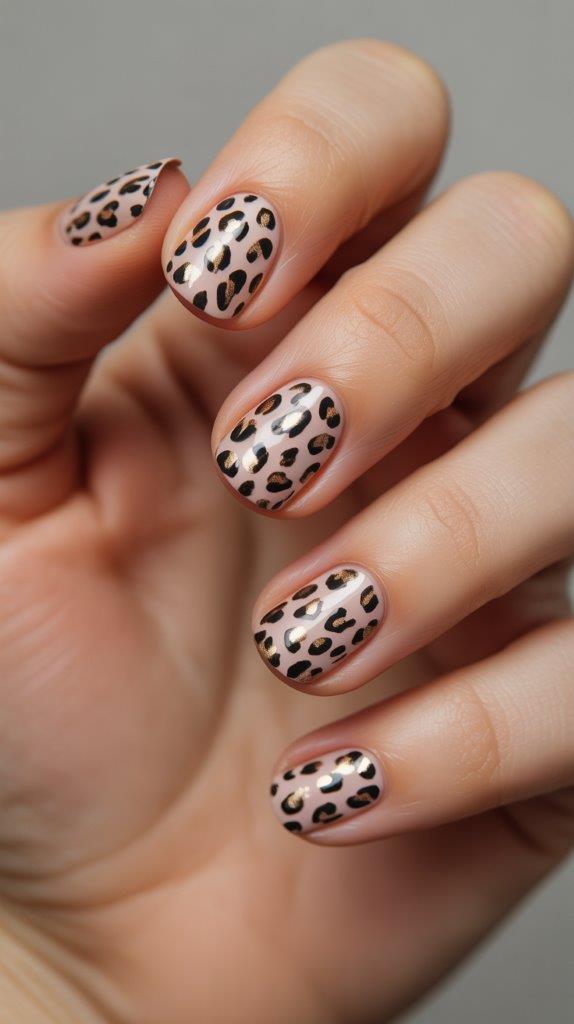
Leopard print isn’t just for fall. Make it springy!
Over a pastel base (try pink!), use a dotting tool to make irregular black dots. Then, using a smaller tool or a brush tip, draw tiny, uneven “C” shapes around the dots. Instant pastel leopard. It’s edgy and festive.
18. Stripe Tape Manicure
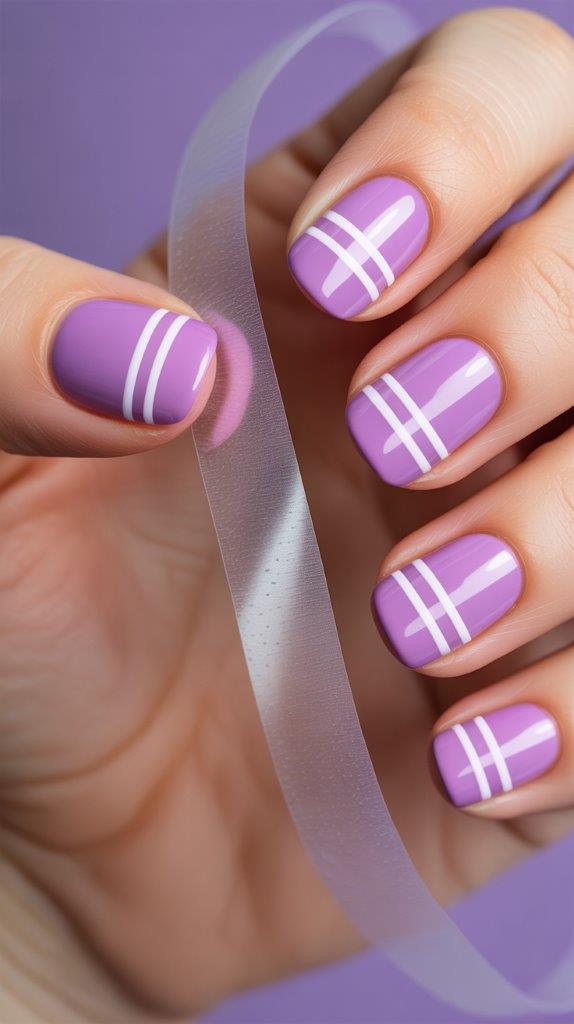
Nail art tape is the ultimate hack for straight lines.
After your base color dries, apply 2-3 parallel strips of thin nail art tape. Paint a different color over the whole nail. Immediately peel the tape off to reveal perfect, crisp stripes of your base color underneath.
19. Simple Sprig of Holly
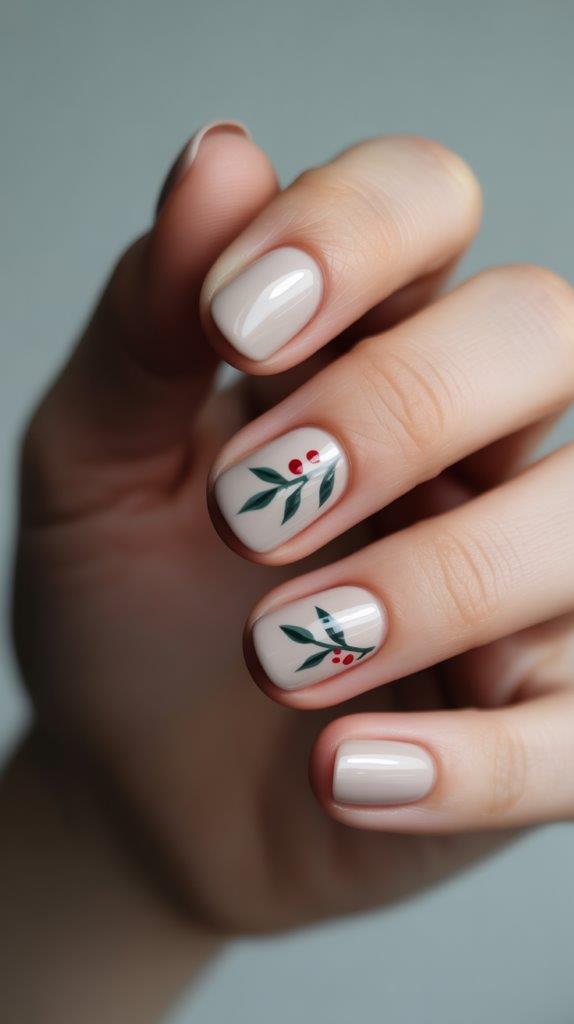
Easter is early spring, so a little greenery works.
On a neutral nail, use a thin brush or a green nail art pen to draw a simple, sideways “Y” shape. Add a few tiny red dots at the intersections for berries. It’s a tiny, elegant botanical touch.
Quick Tips to Make Your Easy Mani Last
FYI, even the simplest design is a bummer if it chips in a day. Here’s my battle-tested routine:
- Prep is Key: Always clean nails with polish remover first to strip oils. Lightly buff the surface.
- Base & Top Coat are Non-Negotiable: A good base coat prevents staining and helps polish stick. A quality fast-dry top coat seals everything in and prevents dents. I never skip these.
- Wrap the Tip: When applying polish, swipe the brush along the very edge of your free nail. This “wraps” the color and prevents premature chipping.
So, which one are you trying first? Honestly, I’m probably going back to the Speckled Egg—it just never lets me down. The best part about these easy Easter nail designs is that they’re meant to be fun, not perfect. If your lines are a little wobbly or your bunny looks a bit abstract, who cares? It adds character 🙂
Give one a shot this weekend. Your festive, spring-ready fingertips will thank you. Happy painting
Leave a Reply
You must be logged in to post a comment.