
Ever stood in front of the mirror with a head full of hair and a heart full of confusion? Yeah, me too. You want a look that slaps but doesn’t require a four-hour Netflix binge to accomplish. That’s where free hand styling comes in. No combs, no brushes, no fancy gadgets—just your fingers, some product, and a little bit of patience. I’ve rounded up 29 incredibly easy tutorials and stunning designs that prove you don’t need a salon chair to feel like a queen. Ready to unlock some serious hair magic? Let’s get our hands dirty.
1. The Classic Wash-and-Go Finger Coil

This is the foundation of every free hand hairstyle. After washing, apply a good leave-in and a gel with strong hold. Twist small sections of damp hair around your index finger until they coil into spirals.
Pro tip: Don’t touch it while it dries. Seriously. Hands off. Letting it air dry completely gives you defined, bouncy curls that last for days. You’ll thank me later.
2. Flat Twists for a Sleek Crown

Flat twists are the underrated superhero of protective styling. Part your hair in sections, then twist two strands flat against your scalp. It looks intricate but honestly, it’s just finger-crossing with purpose.
Rock them all over your head or create a half-up style. They stretch your roots without heat and give major “I woke up like this” energy—even if you didn’t.
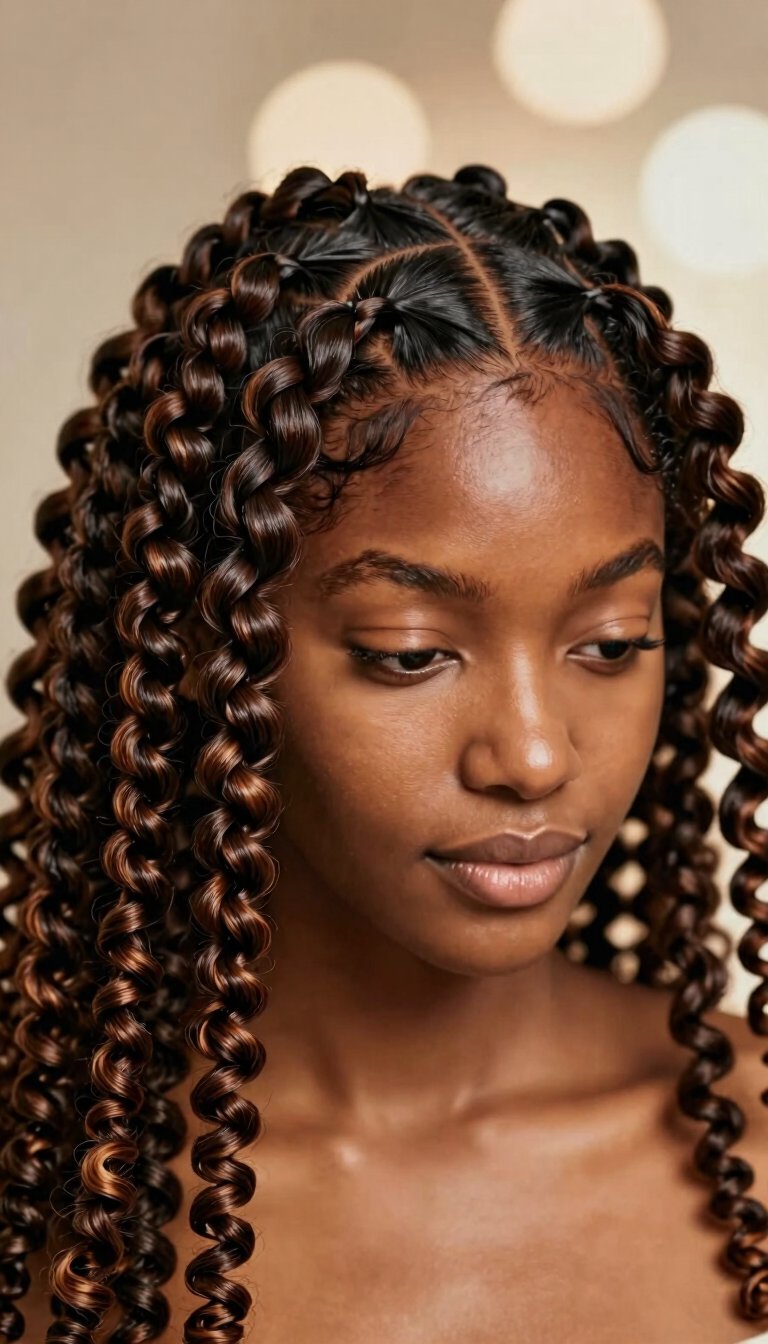
3. The Bantu Knot-Out That Turns Heads
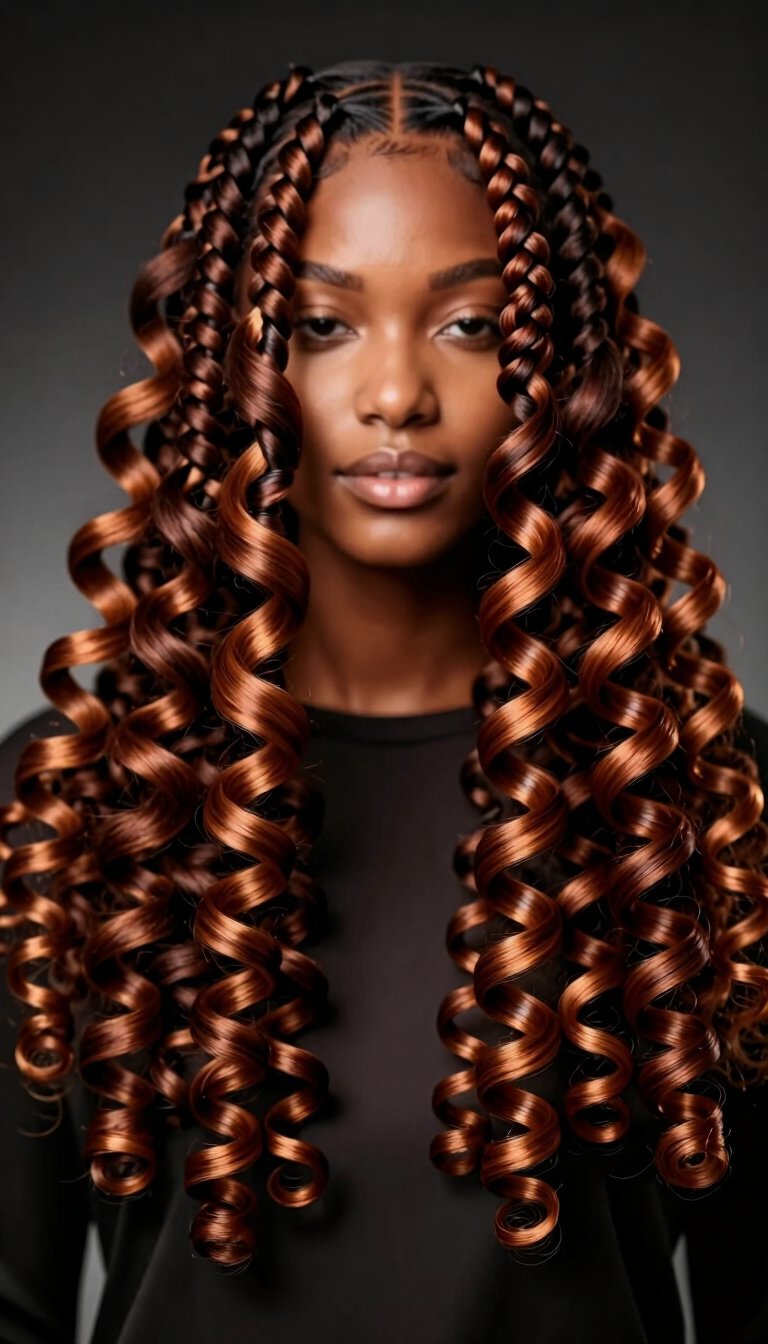
Bantu knots are the pre-game to some of the best curl patterns you’ll ever see. Section your hair, twist each section into a tight coil, then wrap it around itself into a knot. Secure with a tiny elastic or a bobby pin.
Sleep on them overnight, unravel in the morning, and boom—voluminous, spiraled perfection. Add a little hair oil for shine, and you’re ready to roll.
4. Two-Strand Twists on Damp Hair

This is the lazy girl’s dream. Split your hair into two-strand twists while it’s damp, apply a twisting cream, and let it dry naturally. When you untwist, you get soft, chunky waves.
NGL, I do this when I have zero plans but want to look put together by accident. It’s foolproof and takes maybe 15 minutes if your hair is already sectioned.
5. The High Puff with a Twist

We all know the classic puff, but let’s level it up. Pull your hair into a high ponytail using just your fingers—no comb needed. Then, take a small section from the front, two-strand twist it, and wrap it around the base.
It hides the hair tie and adds a little flair. One minute of effort, maximum style points. Perfect for those “I’m late” mornings.
6. Finger Detangling for Maximum Volume

Yes, skipping the comb on purpose. After soaking your hair with conditioner, use your fingers to gently separate tangles from the ends up. It reduces breakage and encourages your natural curl pattern to clump.
The result? Big, fluffy hair that looks like it has a mind of its own—in the best way. Pair with a light mousse for all-day hold.
7. The Pineapple Updo for Sleepy Days

This one’s all about preserving your style while looking cute halfway through your day. Flip your head forward, gather your curls loosely at the top of your head with a scrunchie, and let them fall forward.
I rock this to the grocery store and get compliments. It keeps your curls from getting squished and gives you that effortless, bouncy look.
8. Mini Twists for a Low-Maintenance Week
If you want a style that lasts a week without touching it, mini twists are it. Take small sections of hair and two-strand twist them all over your head. The smaller the twist, the longer it lasts.
You can wear them down, in a bun, or half-up. They’re basically a vacation for your fingers. Just spritz with water and go.
9. The Frohawk with Finger Waves

Want an edgy look without the commitment? Pin the sides of your hair back to create a faux hawk, but use finger waves on the pinned sections for texture. Just run your fingers through a bit of gel and shape the waves.
It screams confidence. Warning: you might feel a little too powerful in this style. Use that energy wisely.
10. Braid-Out on Unwashed Hair
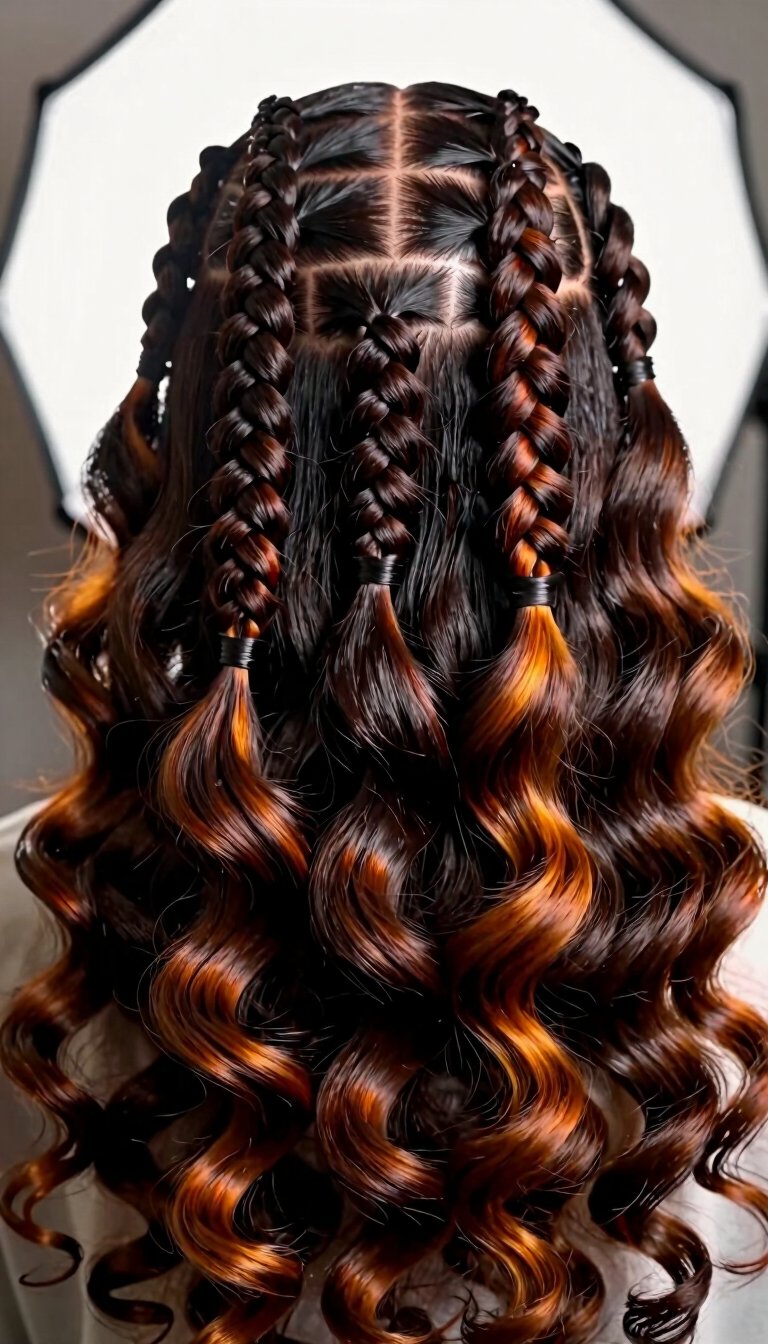
Day three hair? No problem. Dampen your hair slightly with water, apply a refresher spray, and braid it into chunky cornrows or flat braids. Let it dry for an hour, then unravel.
You get beautiful, stretched braid waves without starting from scratch. It’s like a cheat code for mid-week freshness.
11. The Halo Twist for Beginners

Never twisted before? Start here. Part your hair down the middle, then two-strand twist each side from the front to the back. Wrap both twists around your head like a crown and pin them.
It stays secure, protects your ends, and looks divine. Plus, you can rock it for a wedding or a lazy Sunday.
12. Single-Strand Twists for Definition

Take a strand of hair and twist it on itself from root to tip. Yes, it’s that simple. This technique defines each curl individually and creates a sleek, elongated look.
Use a twisting butter for grip. You’ll see your curls transform right before your eyes—no magic wand required.
13. The Side-Swept Finger Comb

Sometimes simple wins. After applying your styling cream, use your fingers to comb all your hair to one side. Let it fall naturally, but tuck a small section behind your ear.
It’s not a style that screams for attention, but it whispers “I have my life together.” I love it for work video calls.
14. Bantu Knots for Short Hair
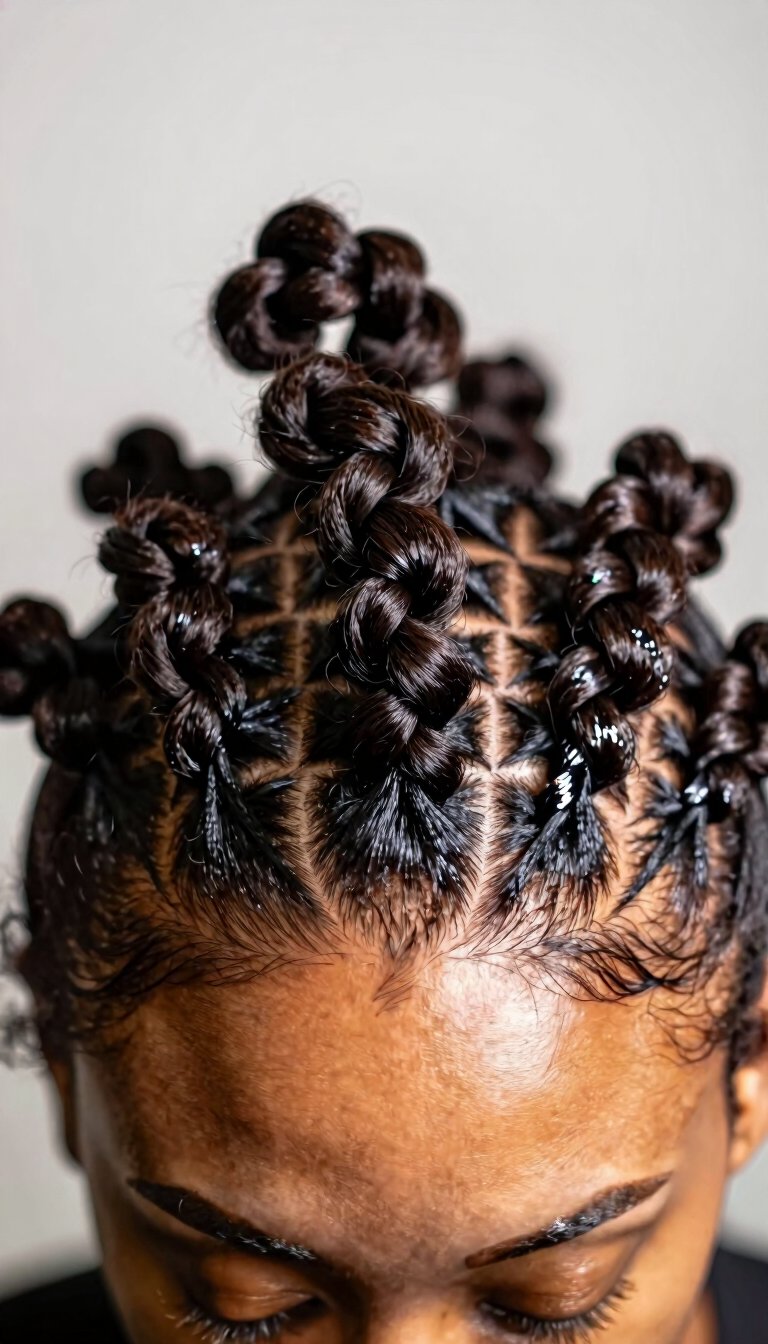
Think your hair is too short for Bantu knots? Nonsense. Even with just a few inches, you can make tiny knots all over. They’ll shrink up, but when you take them down, you get the cutest coil pattern.
Use a gel with strong hold to keep them from unraveling. This is a power move for TWA wearers.
15. The Pineapple Puff Variation

Take the classic pineapple puff and add a twist (pun intended). After gathering your hair at the top, separate it into two sections. Twirl each section around your finger and pin them together.
It creates a sort of double-bun effect. It’s playful, keeps hair off your neck, and looks intentional even when it’s not.
16. Finger Coils on Dry Hair

You don’t always need water. On dry hair, apply a lightweight curl cream and twist small sections around your finger. The friction helps define the curl without adding moisture.
This is my go-to when I need a quick refresh but don’t have 30 minutes to wet my whole head. It’s speed defined.
17. The Criss-Cross Flat Twist Updo

Flat twist your hair from the front, but cross the twists over each other as you move to the back. It creates a basketweave effect that looks super intricate.
Pin the ends into a low bun. It takes maybe 10 minutes, but people will think you spent an hour. Keep that secret to yourself.
18. Loose Finger Waves for a Red Carpet Feel

Run your fingers through sections of wet hair with mousse, then scrunch upward. Let it air dry or diffuse with a blow dryer on low. The result is soft, voluminous waves.
It’s not the same as finger coils—these waves are looser and more relaxed. Perfect for a date night or just feeling fancy at home.
19. The Puff with a Twisted Crown

Make your puff royal. After pulling your hair up, take a section from the front, two-strand twist it, and wrap it around your head like a headband. Pin it in place.
Now your puff has a crown. You’re not just wearing a hairstyle; you’re wearing a statement. Add a flower pin for extra flair.
20. Flat Twists Going Back

Start at your hairline and flat twist straight back toward your nape. Do this for all sections until you reach the back. It’s like cornrows but with twists.
Leave the ends free and fluff them out. It’s sleek, protective, and keeps your edges laid without a brush.
21. The Tuck and Roll Method

Take a section of hair, roll it toward your scalp, and tuck the ends under. Secure with a bobby pin. Repeat all over. This creates a textured, rolled look.
It’s a no-heat way to get volume at the roots. Plus, you look like you just stepped out of a vintage salon.
22. Two-Strand Twists with Beads

Add some personality. After twisting your hair, slide a few colorful beads onto the ends. It’s a little nostalgic and a lot cute.
The beads also weigh down the twists, helping them hang longer. It’s functional and fun—my favorite combo.
23. The Half-Up Finger Coil Puff

Take the top half of your hair, finger coil it, and let the coils hang. Pull the bottom half into a low puff. It’s a half-and-half style that shows off both texture and volume.
You get the best of both worlds: defined curls on top, big fluff on bottom. I call it the “best of both” and it always gets compliments.
24. Finger Detangling for Ultimate Shrinkage

Yes, shrinkage is real, but embrace it. After washing, finger detangle and apply a gel. Let your hair dry without stretching. You’ll get tight, springy coils that bounce with every step.
It’s the ultimate “natural look” style. No tension, no manipulation—just pure, unapologetic texture.
25. The Messy Bun with Face-Framing Twists

Gather your hair into a messy bun at the back, but leave out two sections at the front. Twist those sections and let them hang loose around your face.
It softens the bun and makes you look effortlessly styled. My favorite part? It takes less than five minutes. Perfect for busy mornings.
26. Bantu Knots for Defined Curls

Make smaller Bantu knots than usual, and really twist them tight. Let them dry completely (overnight is best) before unraveling. You’ll get the most defined, shiny curls of your life.
Use a silk scarf to protect them while you sleep. When you wake up, you’ll feel like you had a salon visit while unconscious.
27. The Criss-Cross Puff

Pull your hair into a puff, but before securing the elastic, split the puff into two sections. Cross them over each other, then secure. This creates a twisted puff look.
It adds texture to a simple style. Plus, it hides any imperfections in the puff shape. Sneaky, right?
28. Finger Waves for Short Textured Hair

Even short, tightly coiled hair can rock finger waves. Apply a heavy gel, then use your finger to create S-shaped waves on your scalp. Let it dry under a hooded dryer or sit under a scarf.
The result is a vintage-inspired look that ages you gracefully—in a good way. You’ll feel like a 1920s film star.
29. The Full Free Hand Twist-Out

This is the grand finale: two-strand twist your entire head on damp hair with a twisting cream. Let it dry fully (again, patience), then unravel each twist carefully. Separate the curls with your fingers for volume.
You get a full head of defined, fluffy twists that last for days. This is the ultimate test of your free hand skills, and you’ll ace it. Spritz with water and a little oil to refresh day two.
So there you have it—29 ways to style your natural hair using nothing but your own two hands. No combs, no brushes, no stress. From quick puffs to intricate twists, every style here proves you don’t need a tool belt to look incredible. Which one are you trying first? I’m personally obsessed with the Bantu knot-out. Let me know if you try any of these, and remember—your hands are the only tool you truly need. Happy styling!
Leave a Reply
You must be logged in to post a comment.